Configuration with AD and vCenter Server
As you read in the last post, we installed 2 node cluster of vROPs in my home lab. Next we are going to cover following actions in this post:
- How to configure AD with vROPs?
- How to configure connection to vCenter?
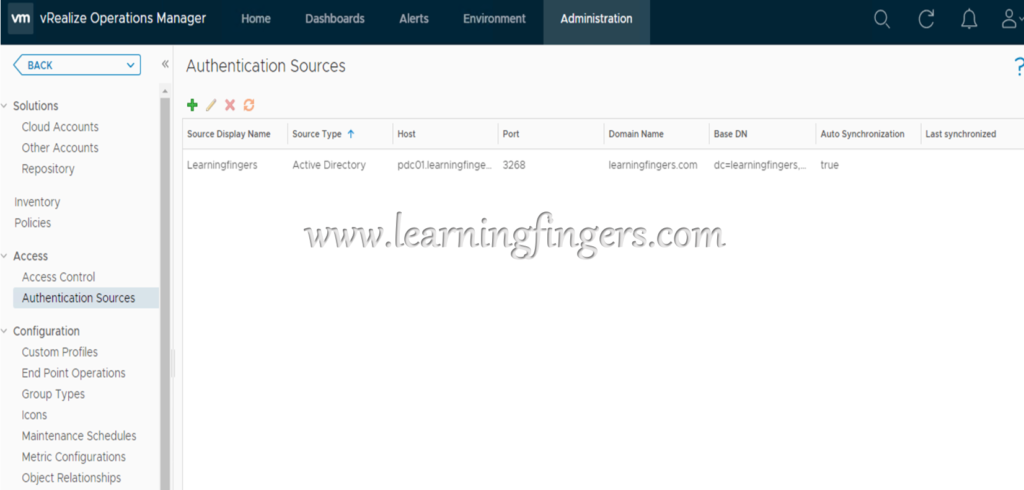
Action 1: How to configure AD with vROPs
Under Administration –> Authentication Sources –> Click + sign
Add information about domain and admin/service account credentials. If you are using SSL support on AD then only click on “USE SSL/TLS” option. 
Test the connection before saving the settings.


Action 2: How to configure connection to vCenter?
Under Administration –> Solutions –> Click ADD ACCOUNTS
Click on vCenter Block.
Configure the vCenter information
Add information about vCenter and admin/service account credentials and accept the certificate review pop up.
Test the connection before saving the settings.
Click vSAN to configure: it gives option to use alternate credentials but keeping the operations overhead into consideration i would recommend to provide vCenter and vSAN access to same account and add it. 
If you want to collect data for physical disk devices select “Enable SMART data collection”.
In my use case, i am using home lab with nested ESXi hosts.
below “Status is Warning as its in collection stage, once the collection from vCenter is completed for the first time it will be in healthy state”. 
Environment discovery: 
Conclusion: Configured integration with Active Directory and vCenter using admin accounts/Service accounts.
To read about the availability of vROPs, read this.
Thank you for reading and we don’t mind if you have a look on rest of the posts!
- How to Implement Hytrust KMS and enable vSAN encryption? - 16/10/2022
- How to delete Inaccessible objects in vSAN datastore? - 16/09/2022
- Availability options with vROPs 8. - 04/07/2022