Scope of this series is to provide all the information required to deploy vROPs in your environment by covering following information:
- Sizing
- Deployment
- Configuration with AD and vCenter
- vROPs availability simplification
This article will be helpful for techies who are deploying vROPs for the first time and for those who have used a bit older versions and were upgrading same setup. As in newer version, they made it easier for adding additional nodes while deployment. If you wish to read more about “How to Upgrade your vROPs environment”, please read my old post.
First things first, we have another version of vROPs which is available after 8.0 .i.e., 8.1.
My requirement was to go N-1, hence vROPs 8.0.1 in my lab. Deployment and configuration of both versions are exactly the same.
We have a simple and easy to use sizing tool from VMware which covers sizing for all versions from 6.5 to 8.1. Once exercise is completed, download the output into a PDF format.
Simply choose the version of vROPs you are going to deploy and type of sizing guide:
– Simple
– Advanced
Only difference is the amount of information to be added. In my experience advanced should be used, provided you have complete clarity about the environment to be monitored. 
Deployment:
I assume you already logged into your VMware account and downloaded the OVA file of the vROPs. Created DNS records for the nodes and have service accounts ready for AD and vCenter integration.
We will deploy the OVA through vCenter and some inputs i will highlight below:
Step 1: As i am performing this deployment in home lab, i used “Extra Small” but based on the size of your environment – use appropriate size. 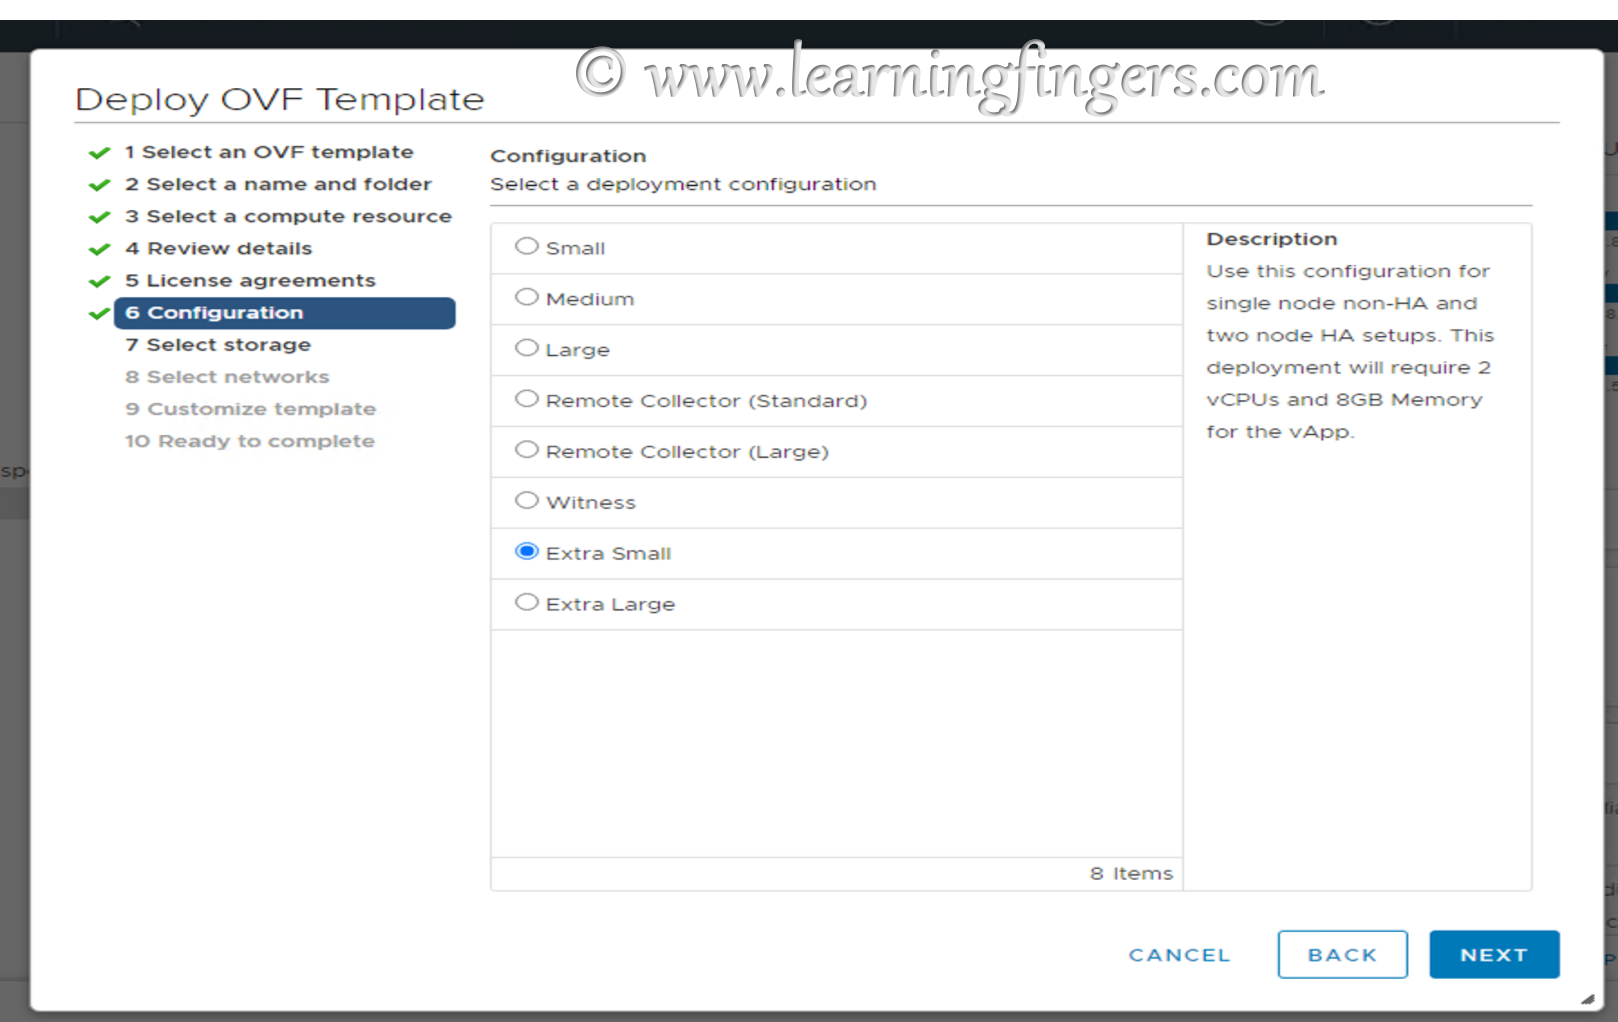
Step 2: Customized template: Choose the time zone, Default Gateway, domain name and IP address.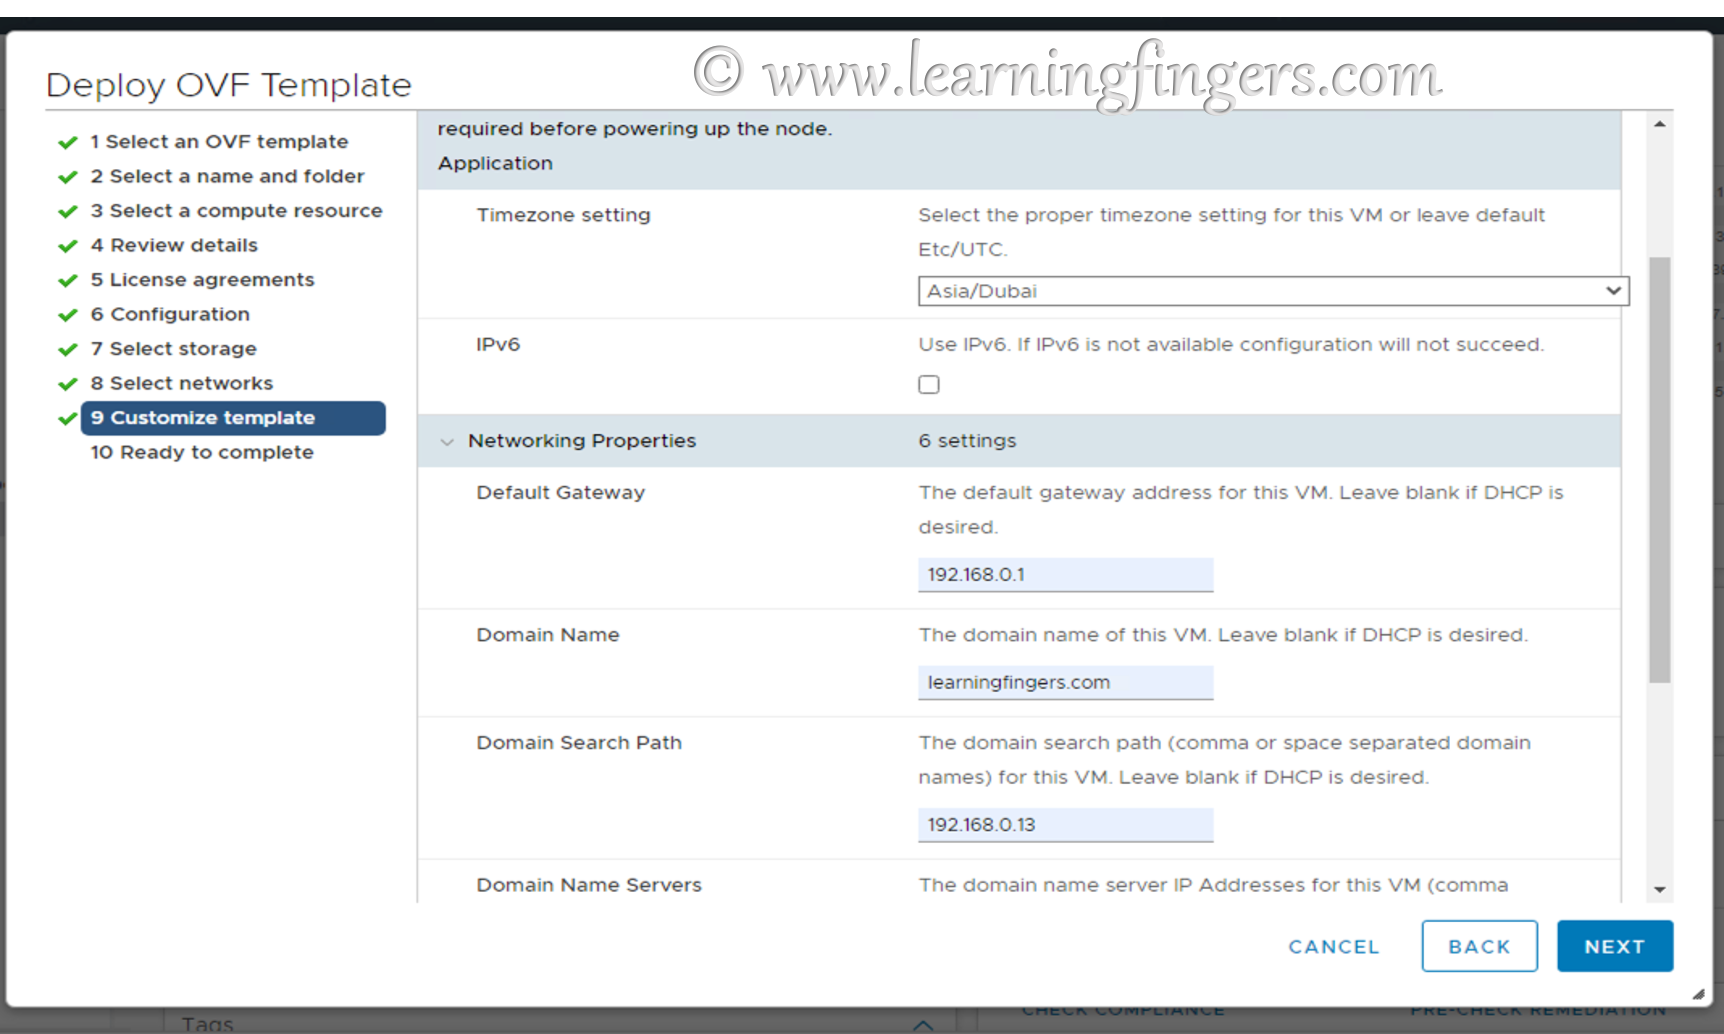
Power on the VM and move the welcome page of vROPs. There are 3 options available below:
– Express Installation (Will only ask about license information and move to cluster configuration)
– New Installation (Below we will cover the information requested)
– Expand an existing Installation (This option is used only when you have an existing cluster and this node will be added into it, can be done for multiple reasons)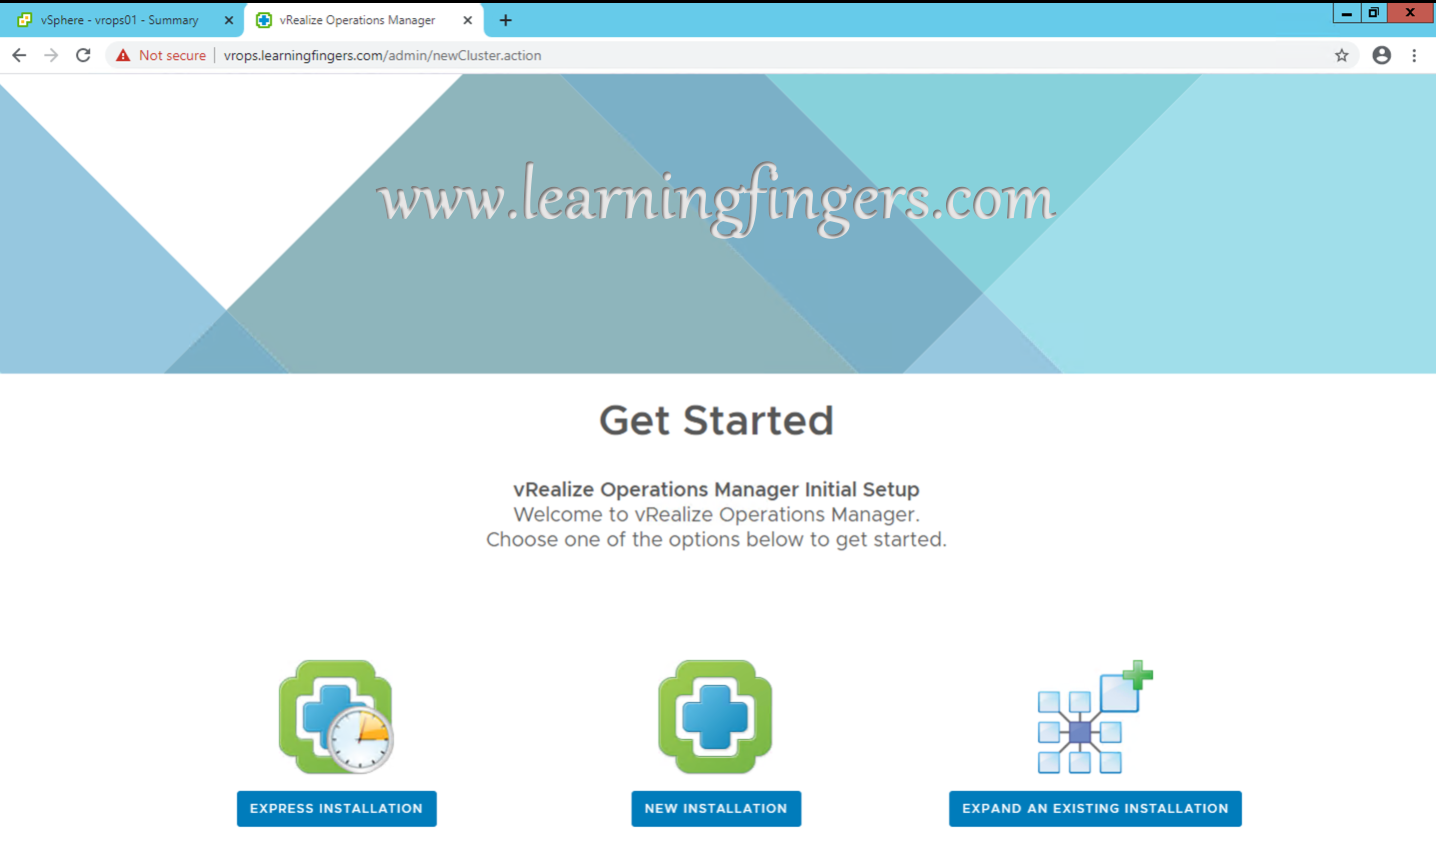
Step 3: We will be doing a New Installation here and moving towards getting started page.
Step 4: Time to assign password of vROPs administrator.
Step 5: Its your choice for the Certificate, either use default or CA signed.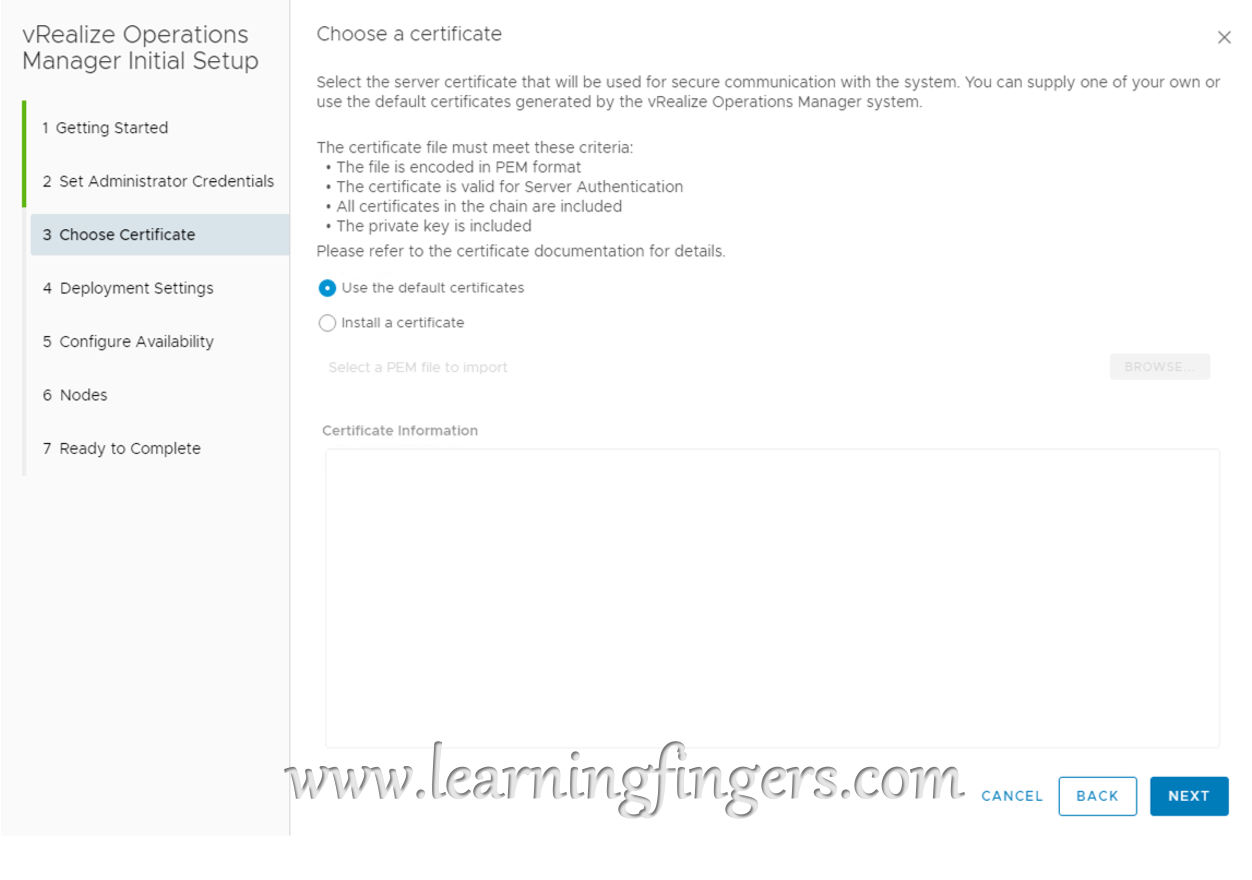
Step 6: As this is the 1st node of the cluster, it becomes the master node and add the NTP address as well.
Step 7: Depending on the HA requirements, we can choose out of the 2 options which comes with different typologies and i have written a dedicated post about it.
For the sake of this post, i am using HA option whereas its possible to disable it as well. 
Step 8: Now while deployment itself, we can add the additional node as per the HA requirements.
Step 9: Perform same process again to deploy another node as master. 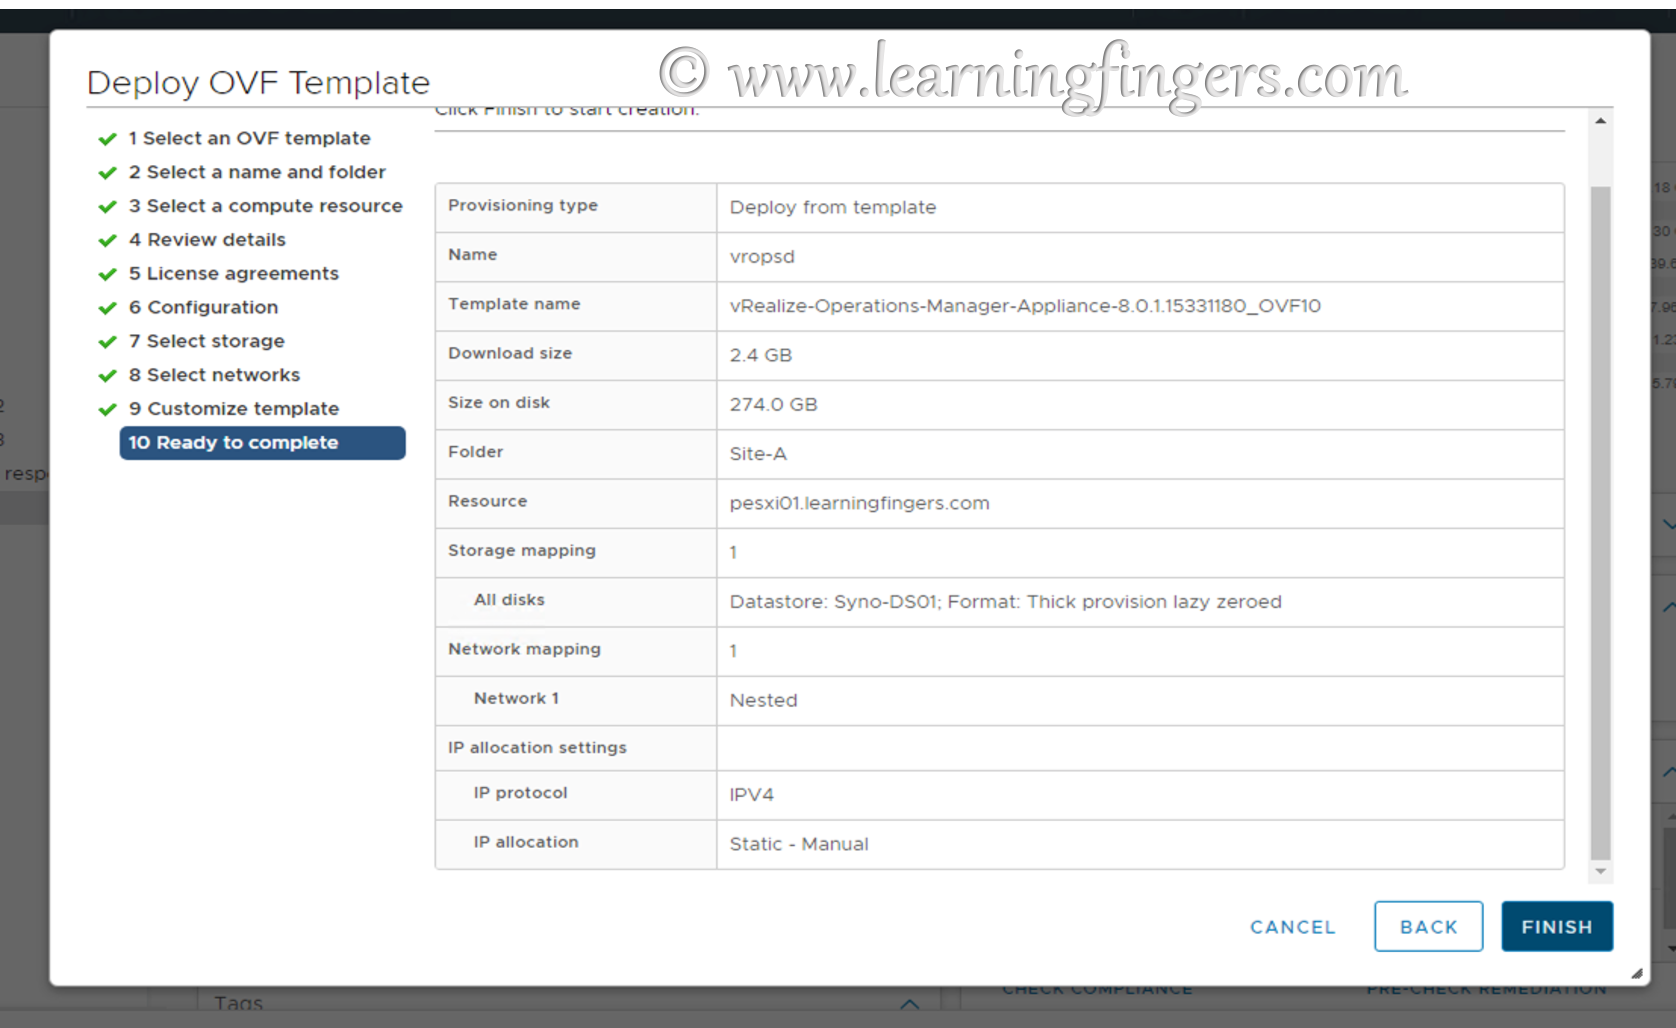
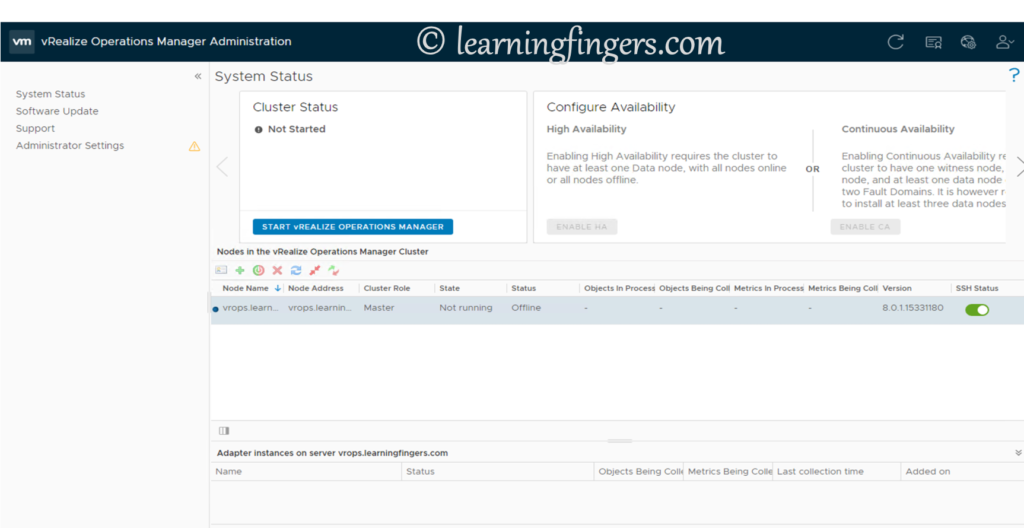
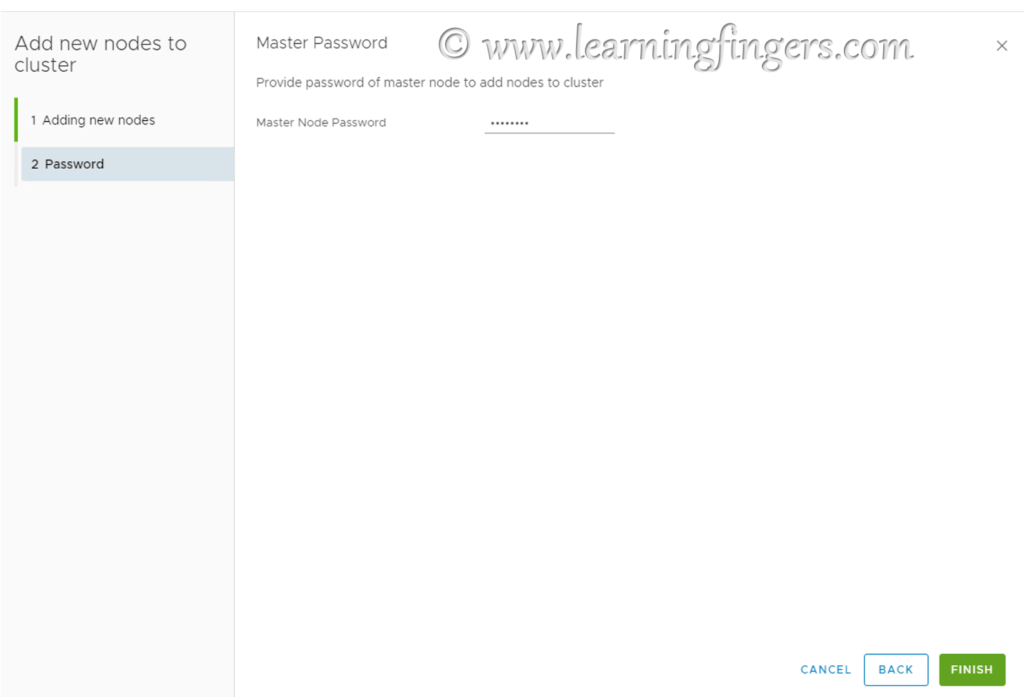
Step 10: Add the node to cluster. Click on Green Plus sign from system status page.
Add the node information and the type of node its.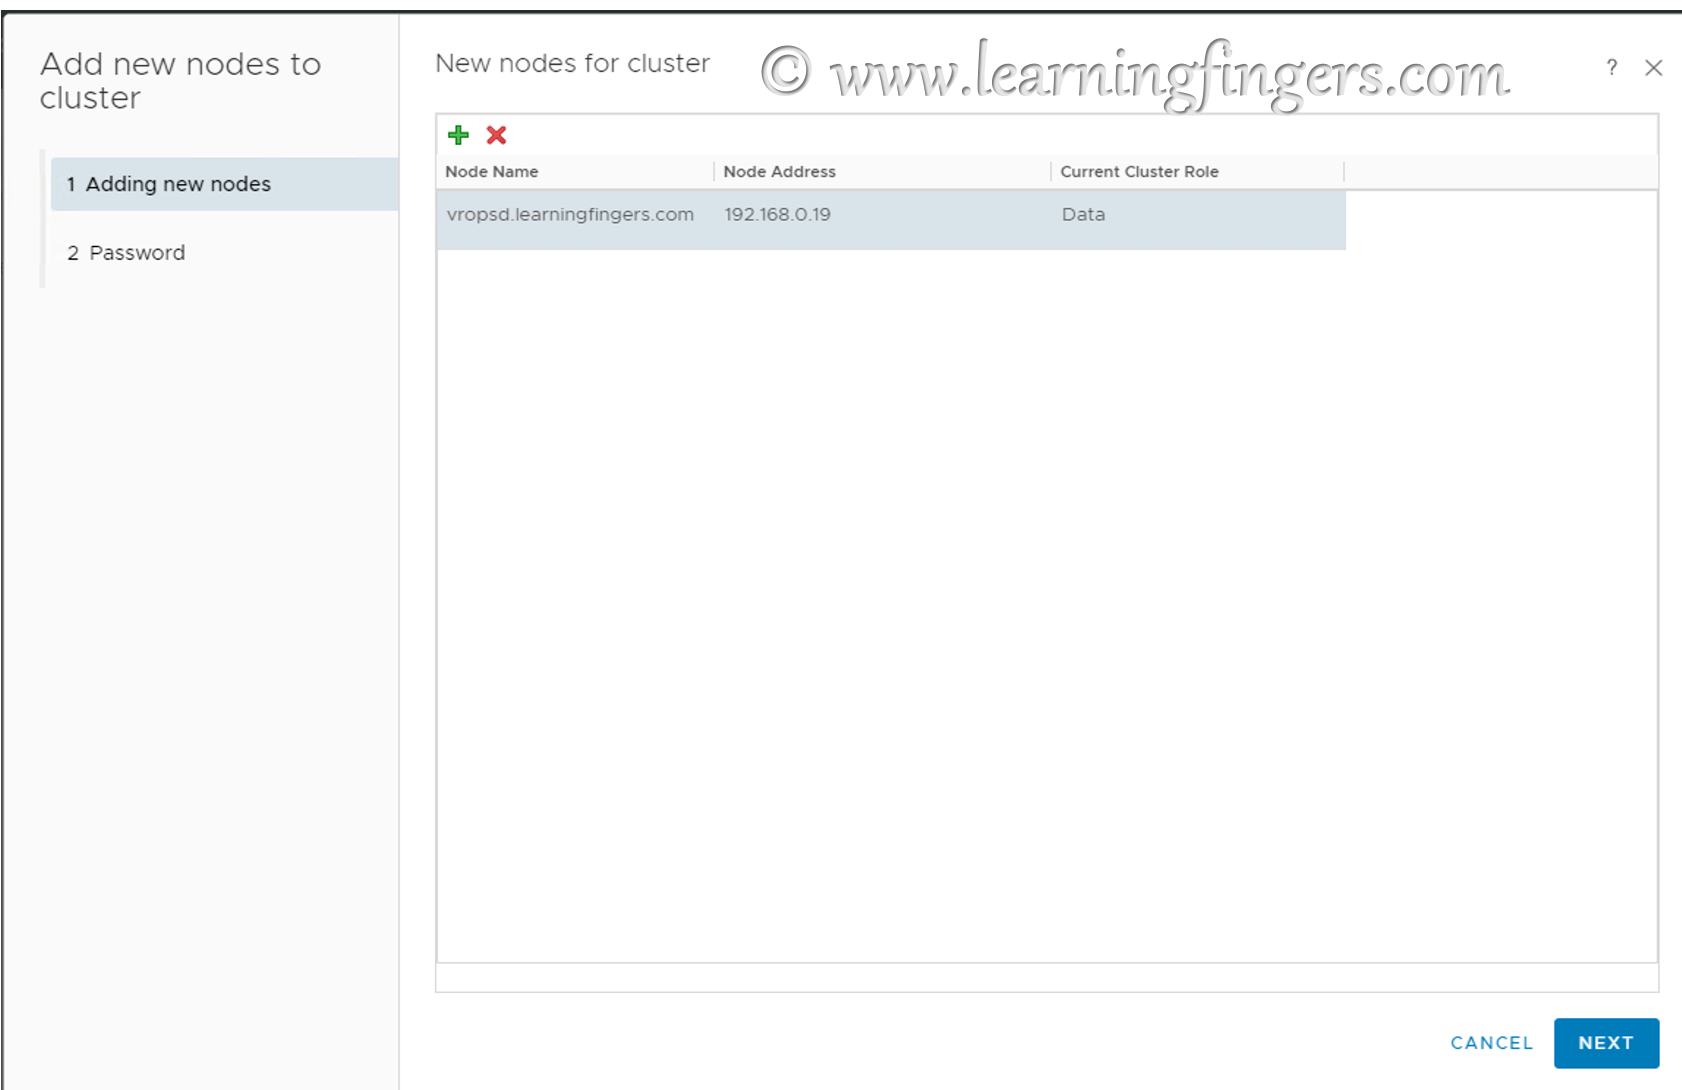
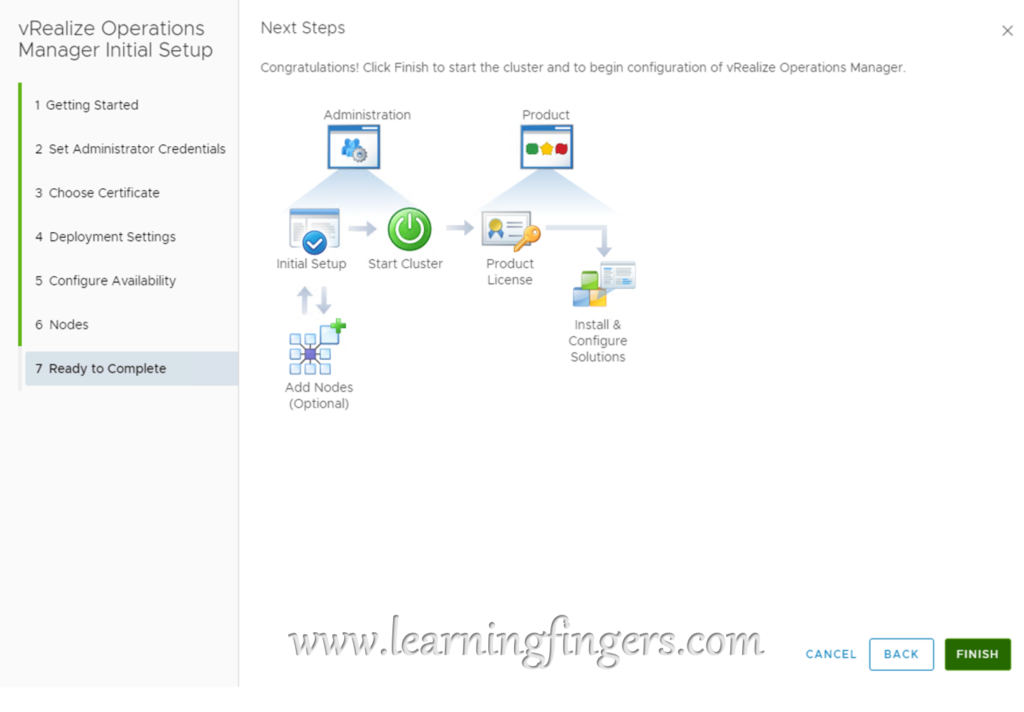
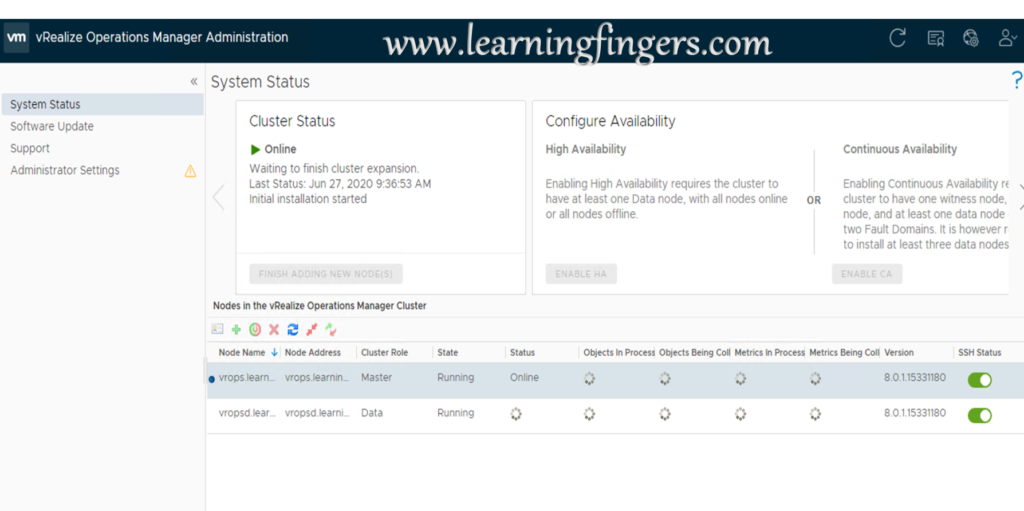
Step 11: Now is the time to Start the cluster for the first time and we will get alert for the same.
Step 12: My login page is ready.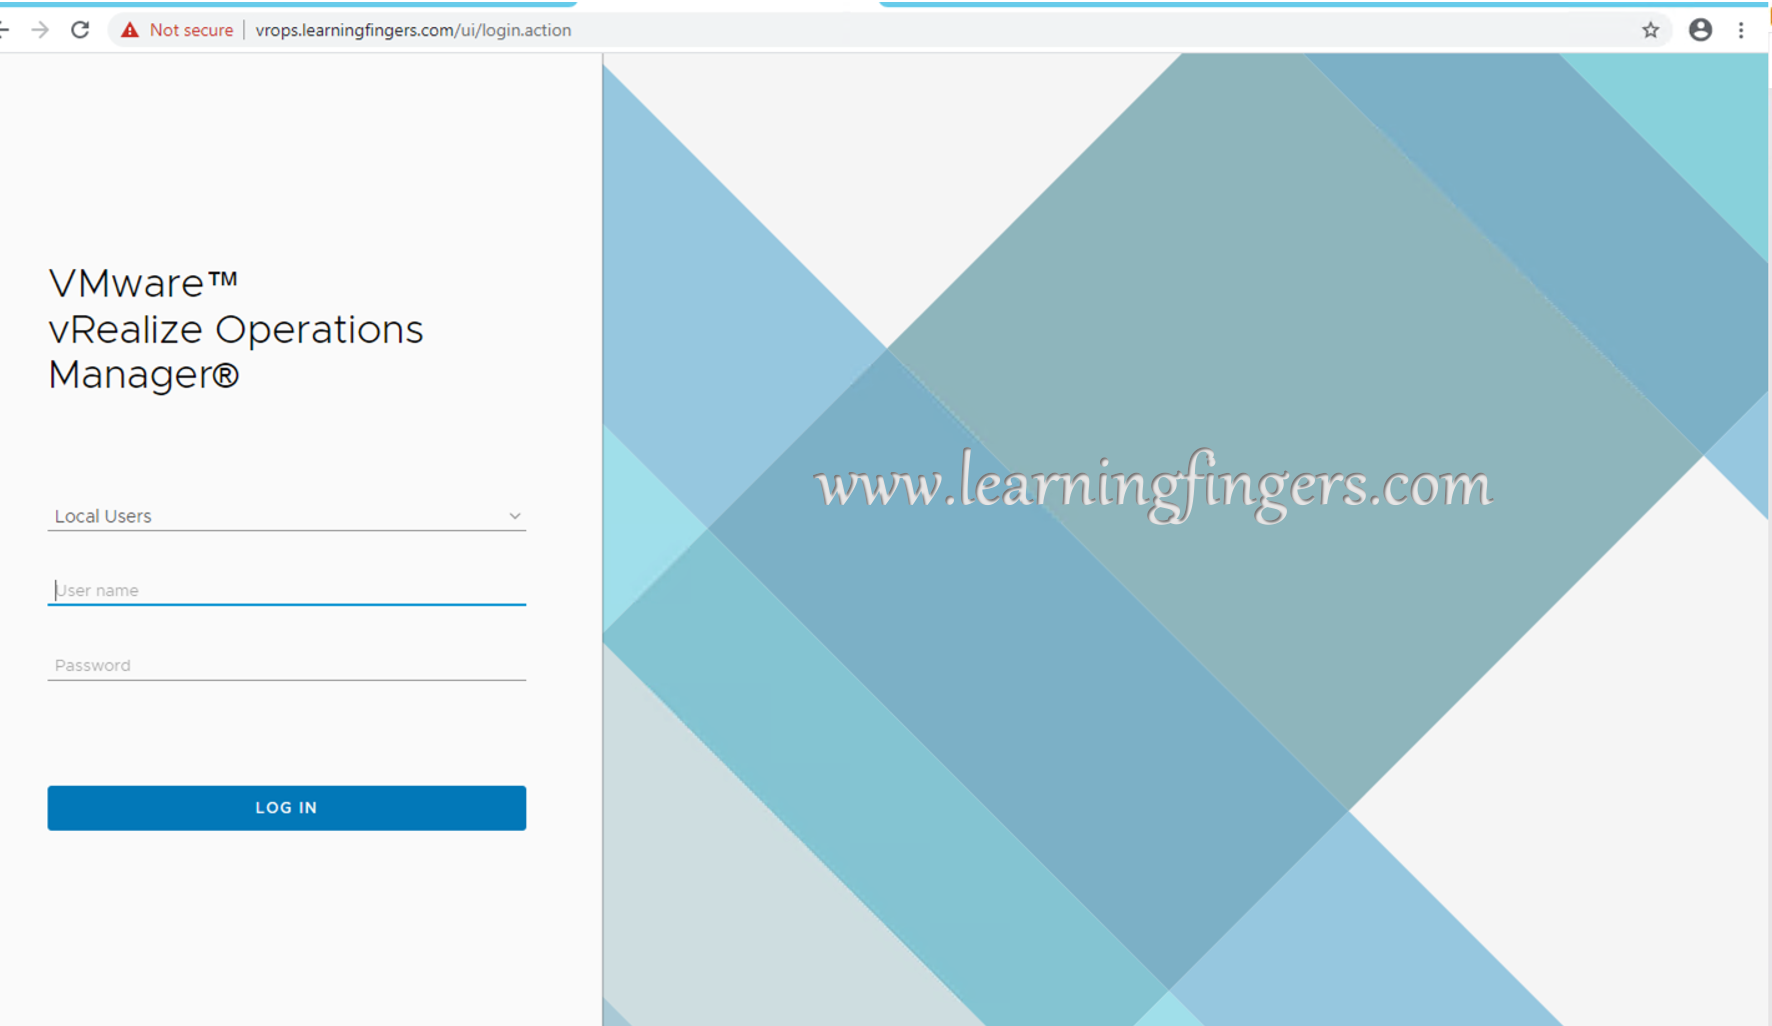
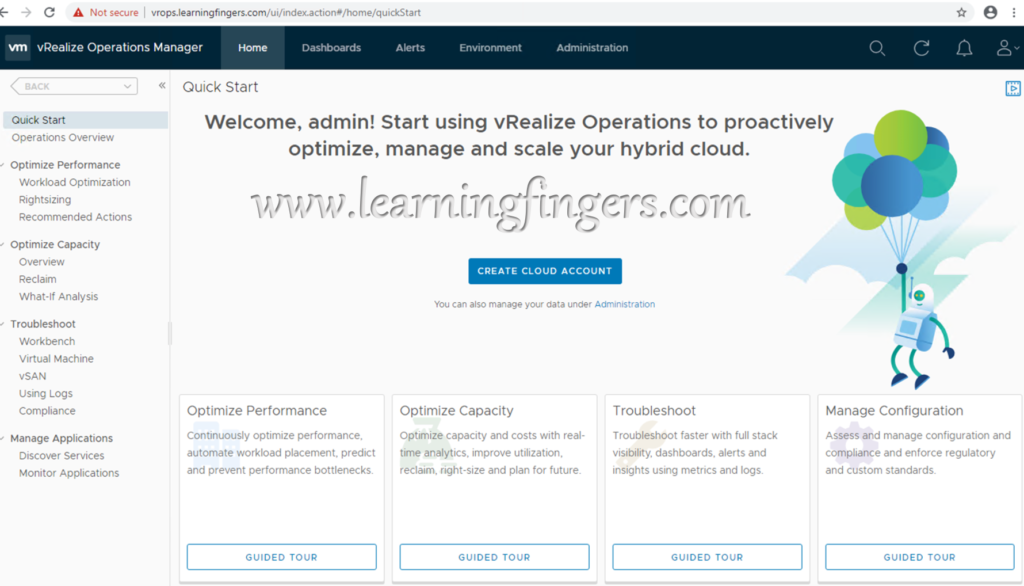
Conclusion: we deployed 2 node cluster of vROPs 8.0.
To learn and read about configuration like:
– How to configure AD with vROPs?
– How to configure connection to vCenter?
Please Click here.
Thank you for reading and we don’t mind if you have a look on rest of the posts!

- How to Implement Hytrust KMS and enable vSAN encryption? - 16/10/2022
- How to delete Inaccessible objects in vSAN datastore? - 16/09/2022
- Availability options with vROPs 8. - 04/07/2022