Scope of this blog post is to implement Runecast Version: 4.5.0.0 with vCenter 6.7 U3 and NSX 6.4.6 in my lab environment.Test the strength and capabilities for Predictive analytics & security compliance!
Upcoming posts will cover – How to fix reported issues.
To be frank, i didn’t anticipate that this implementation and configuration would be this easy.
Before jumping into the implementation steps, lets quickly review the per-requests:
- Download the Runecast with 14 days trail period using link.
- Create DNS record for Runecast VM (optional)
- Create a service account for integration with vCenter server and NSX.
- Assign minimum privilege of Read-only to the service account in vCSA and NSX.
Step 1: After downloading Runecast ova, create a VM using it and power-on it.
Step 2: Login by browsing URL using DNS or IP address, the default username is rcuser and password is Runecast!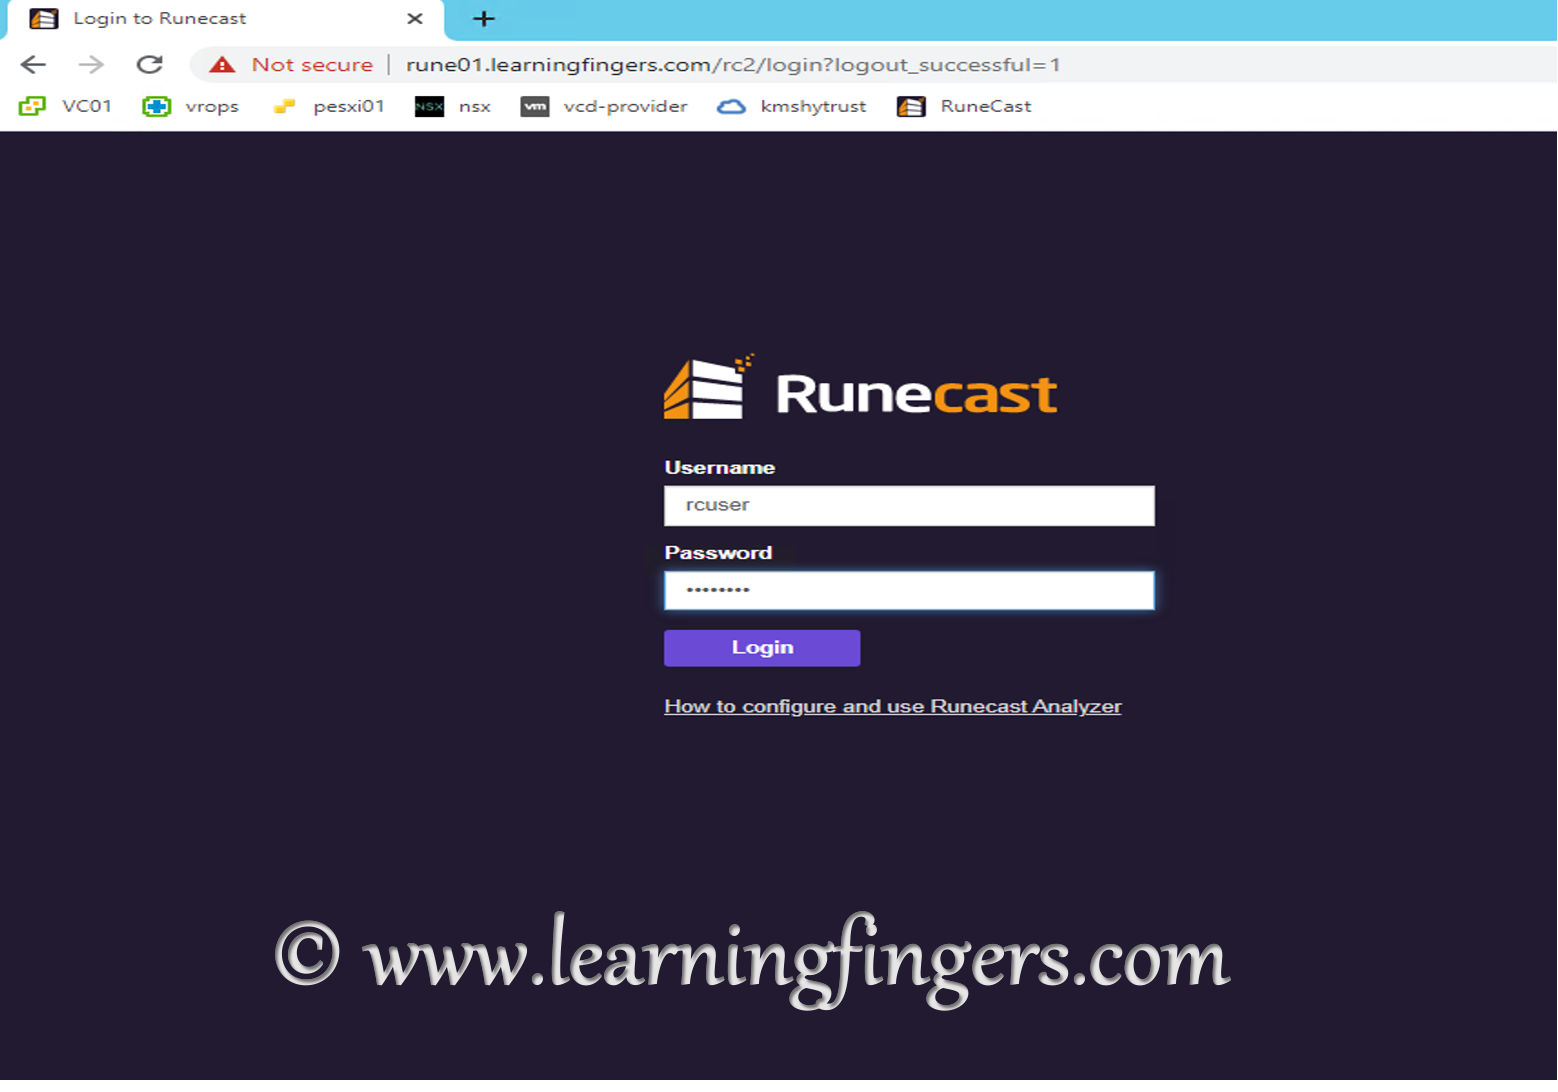
Step 3: I chose to do integration with vCSA & NSX before license configuration of Runecast.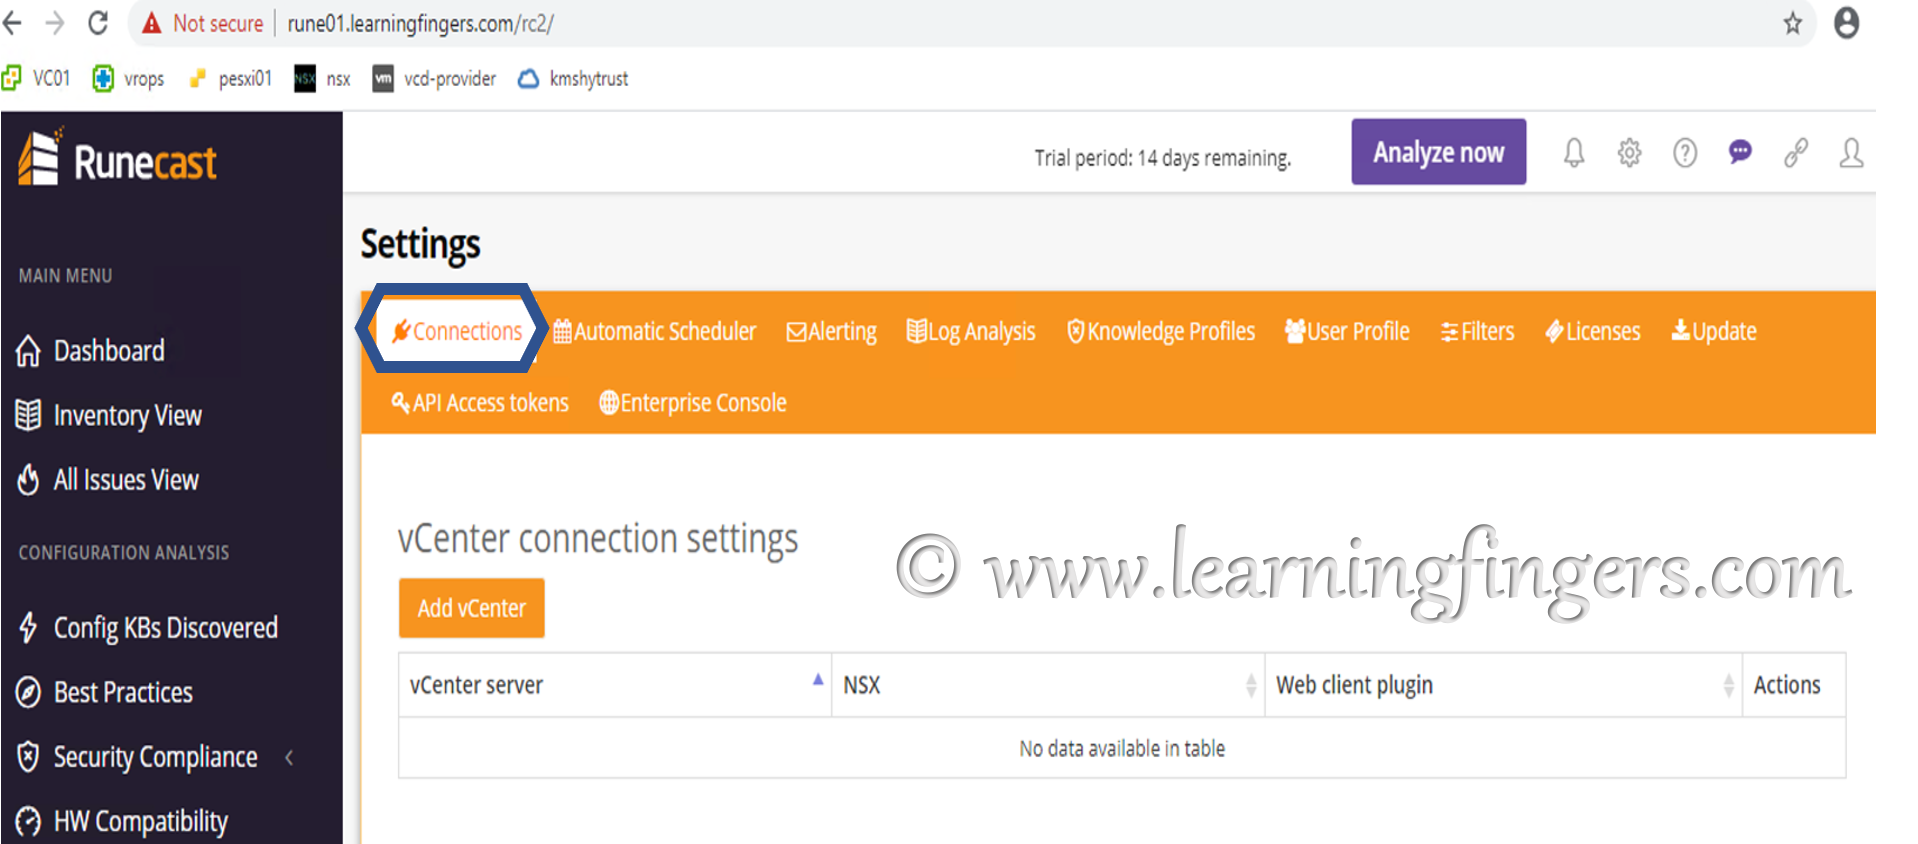


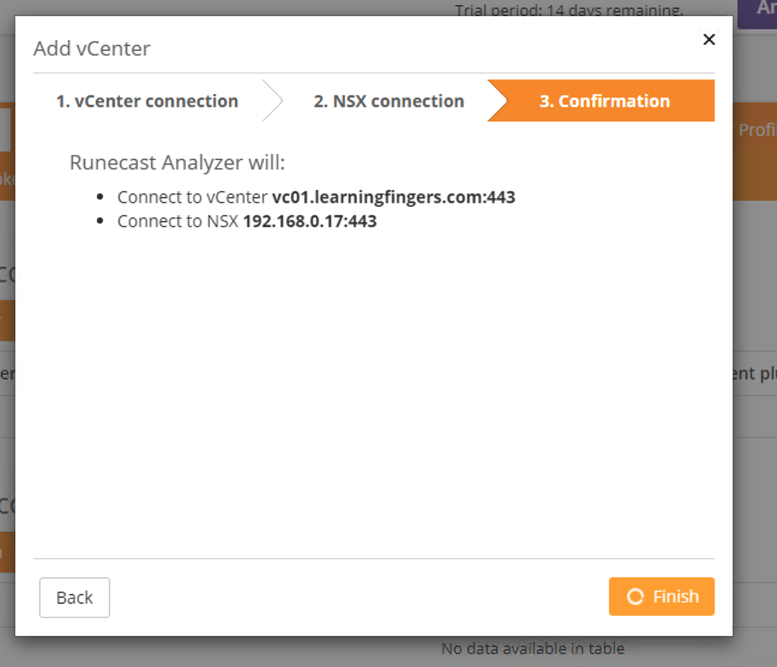
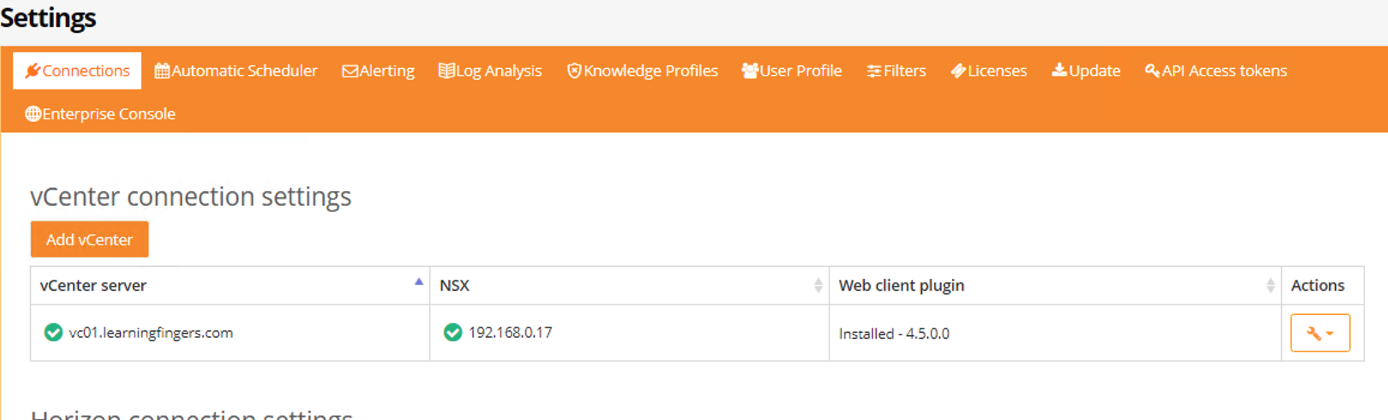
Confirmation: integration of Runecast with vCSA & NSX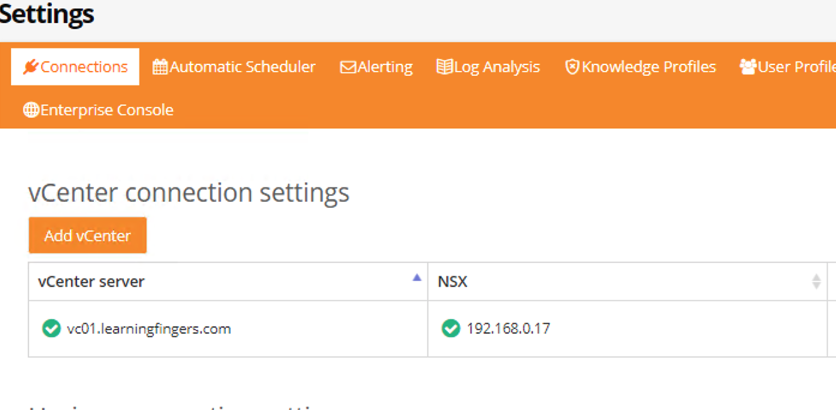
Step 4: Add and configure license: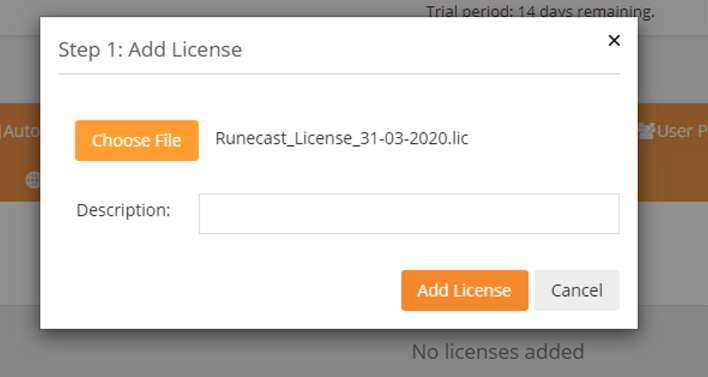
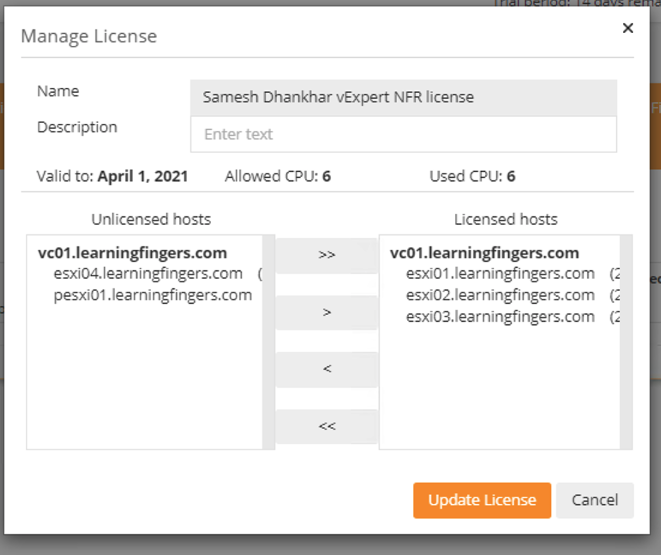
After adding license, click on “Manage” 
Step 6. Move to Runecast login and click on “Analyze now”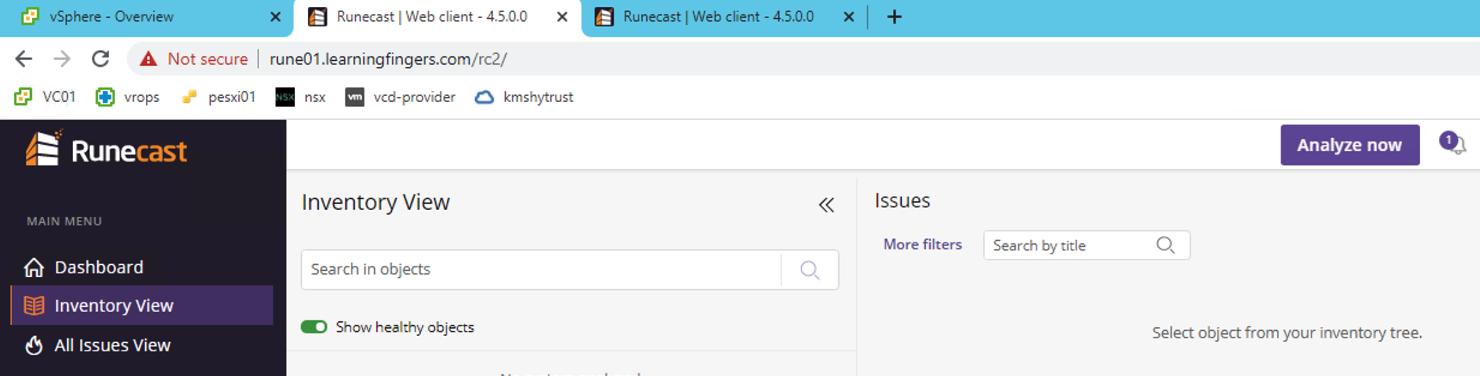
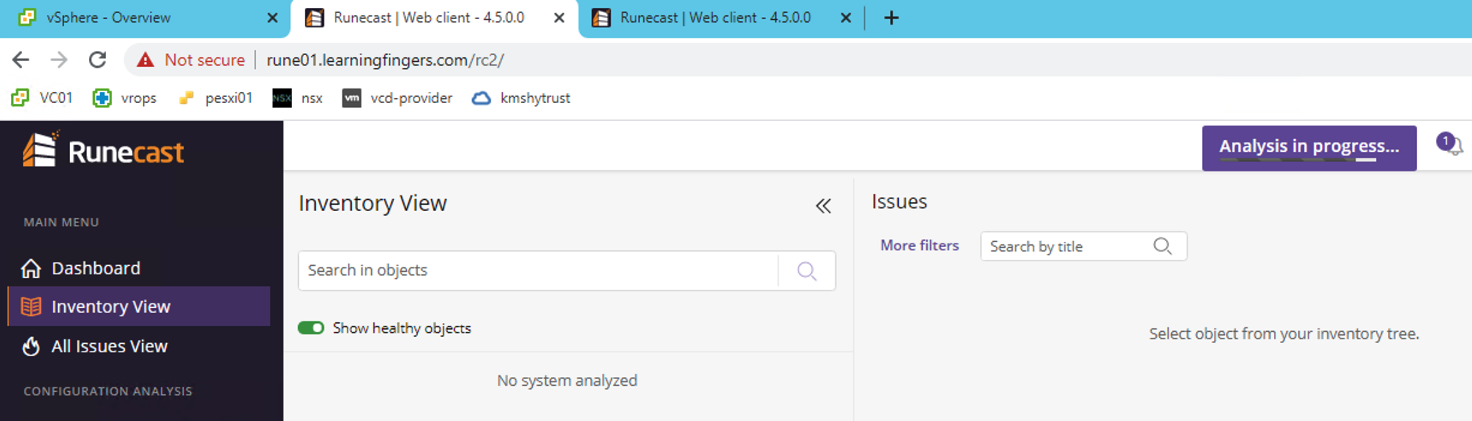
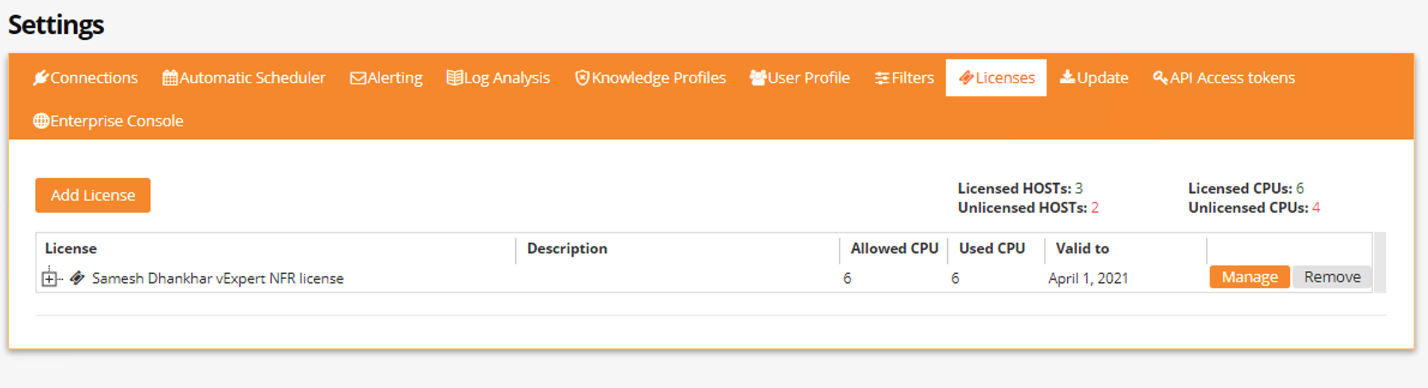
Step 5: Initial configuration is completed, ideally we can perform our 1st analysis from Runecast.
This is an optional step – install Runecast plug-in in vCSA. if not interested, skip to Step 6.
From vCSA connection tab, click to install the plug-in to vCSA and it would need a API token to configure the plug-in connect. Refresh the browser and click the plug-in.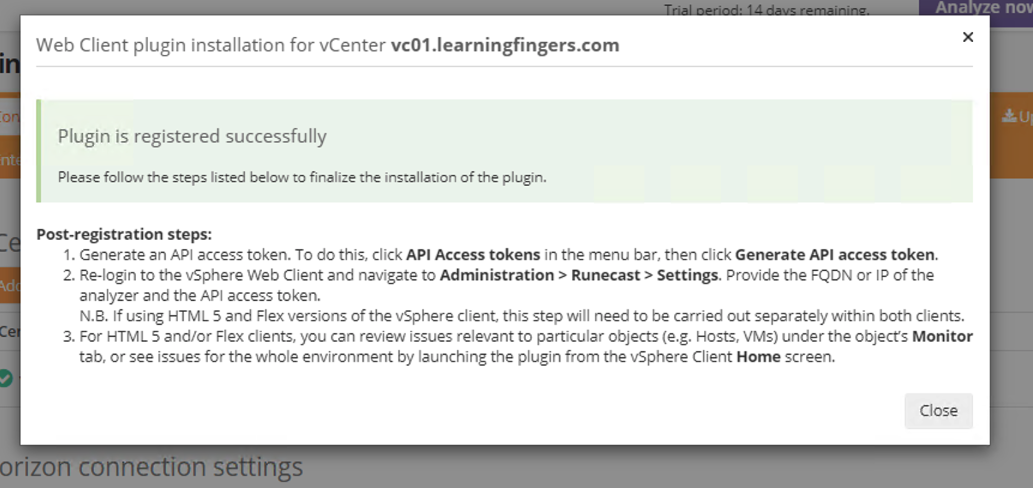

Now we need to generate API token from Runecast.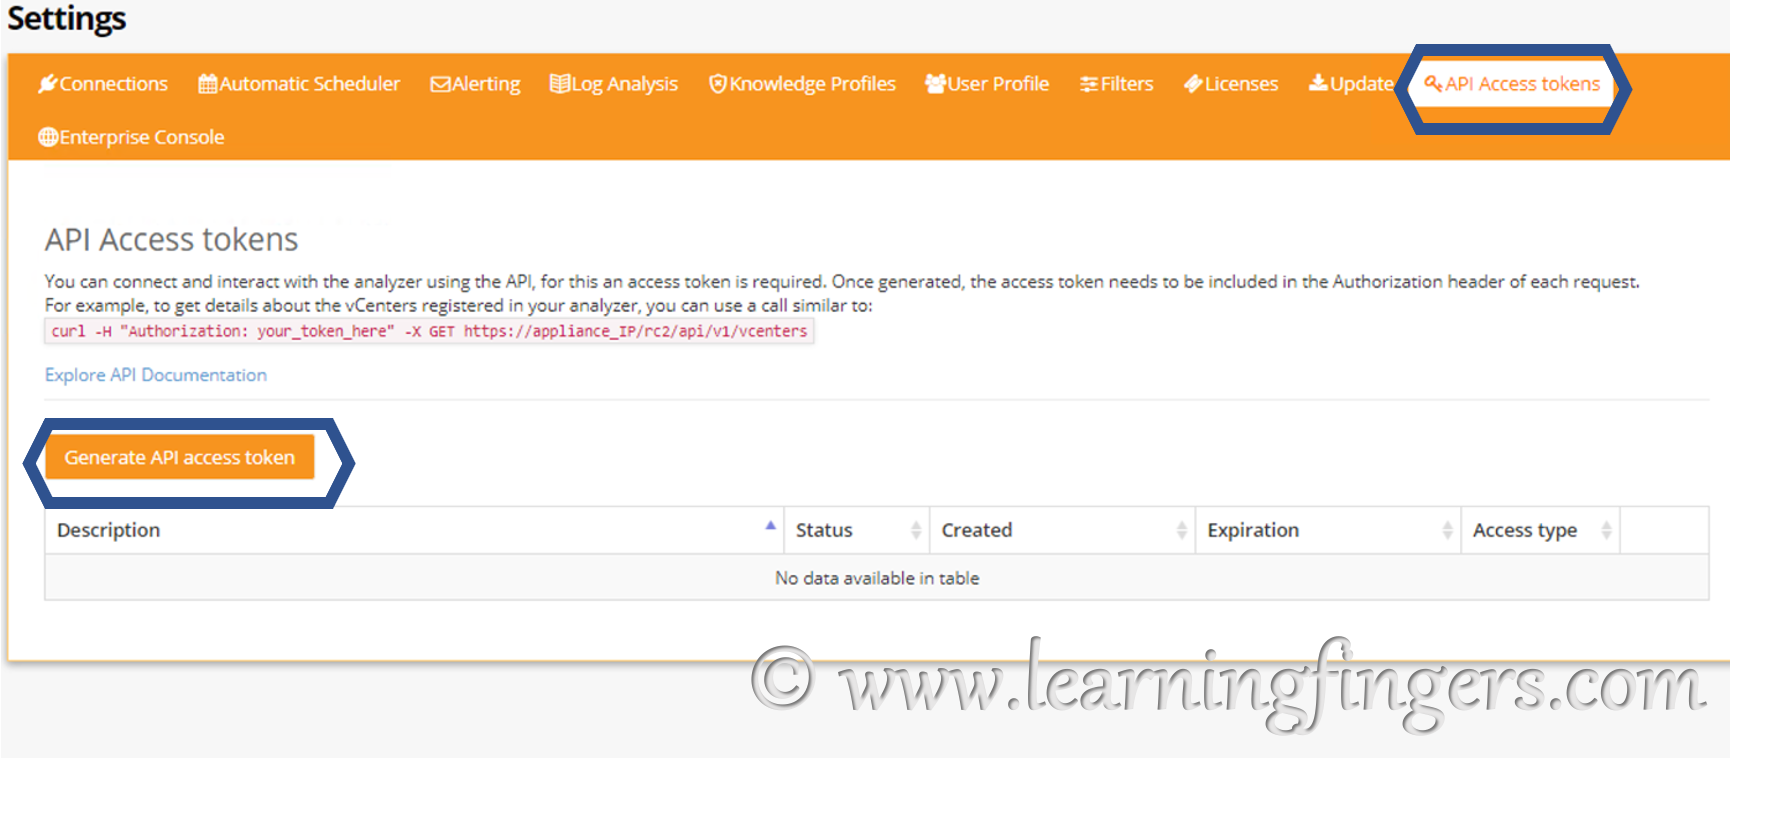
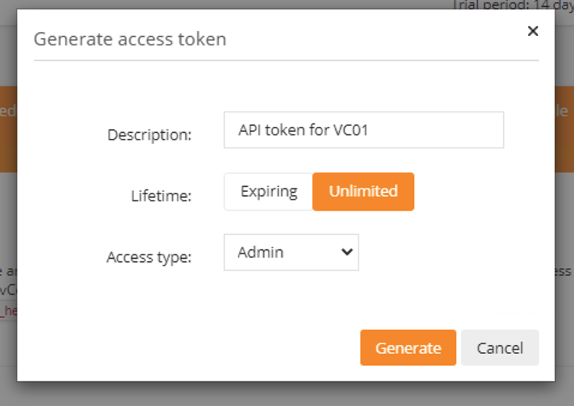
Copy the generated API token and this will be added on vCSA – Runecast plug-in with FQDN of Runecast.

Output: This is how the output looks like. 
What are going to do about these issues, will be covered in upcoming posts.

- How to Implement Hytrust KMS and enable vSAN encryption? - 16/10/2022
- How to delete Inaccessible objects in vSAN datastore? - 16/09/2022
- Availability options with vROPs 8. - 04/07/2022