If you are searching for “Changing the vCSA FQDN & hostname” then i don’t have to explain the reason for it, but in case you just came across this as a normal read then let me just say, there would be quite a few reasons like mentioned in VMware documentation.
For me it was a simple one, a vCenter which was deployed for a defined purpose but end up using it for quite a few scenarios due to which name is misguiding. So i choose not to live with it 🙂
Environment Summary:
Existing name: oldvc.cloudlab.com
New name: newvc.cloudlab.com
vCenter version : 7u2c
why does it matter you ask, because this action is supported only 6.7 U3 onward.
Prerequisites:
- Ensure the new DNS A record is created before starting the activity.
- If using vCenter High Availability, ensure this feature is disabled/destroyed
- Products which are registered with vCenter like backup products, vRO, vROPS or any third party needs to be unregistered prior to the activity and can be registered after successful completion.
In Action:
Step1: The below mentioned steps will be performed from https://VC_FQDN:5480 where we will login with root credentials.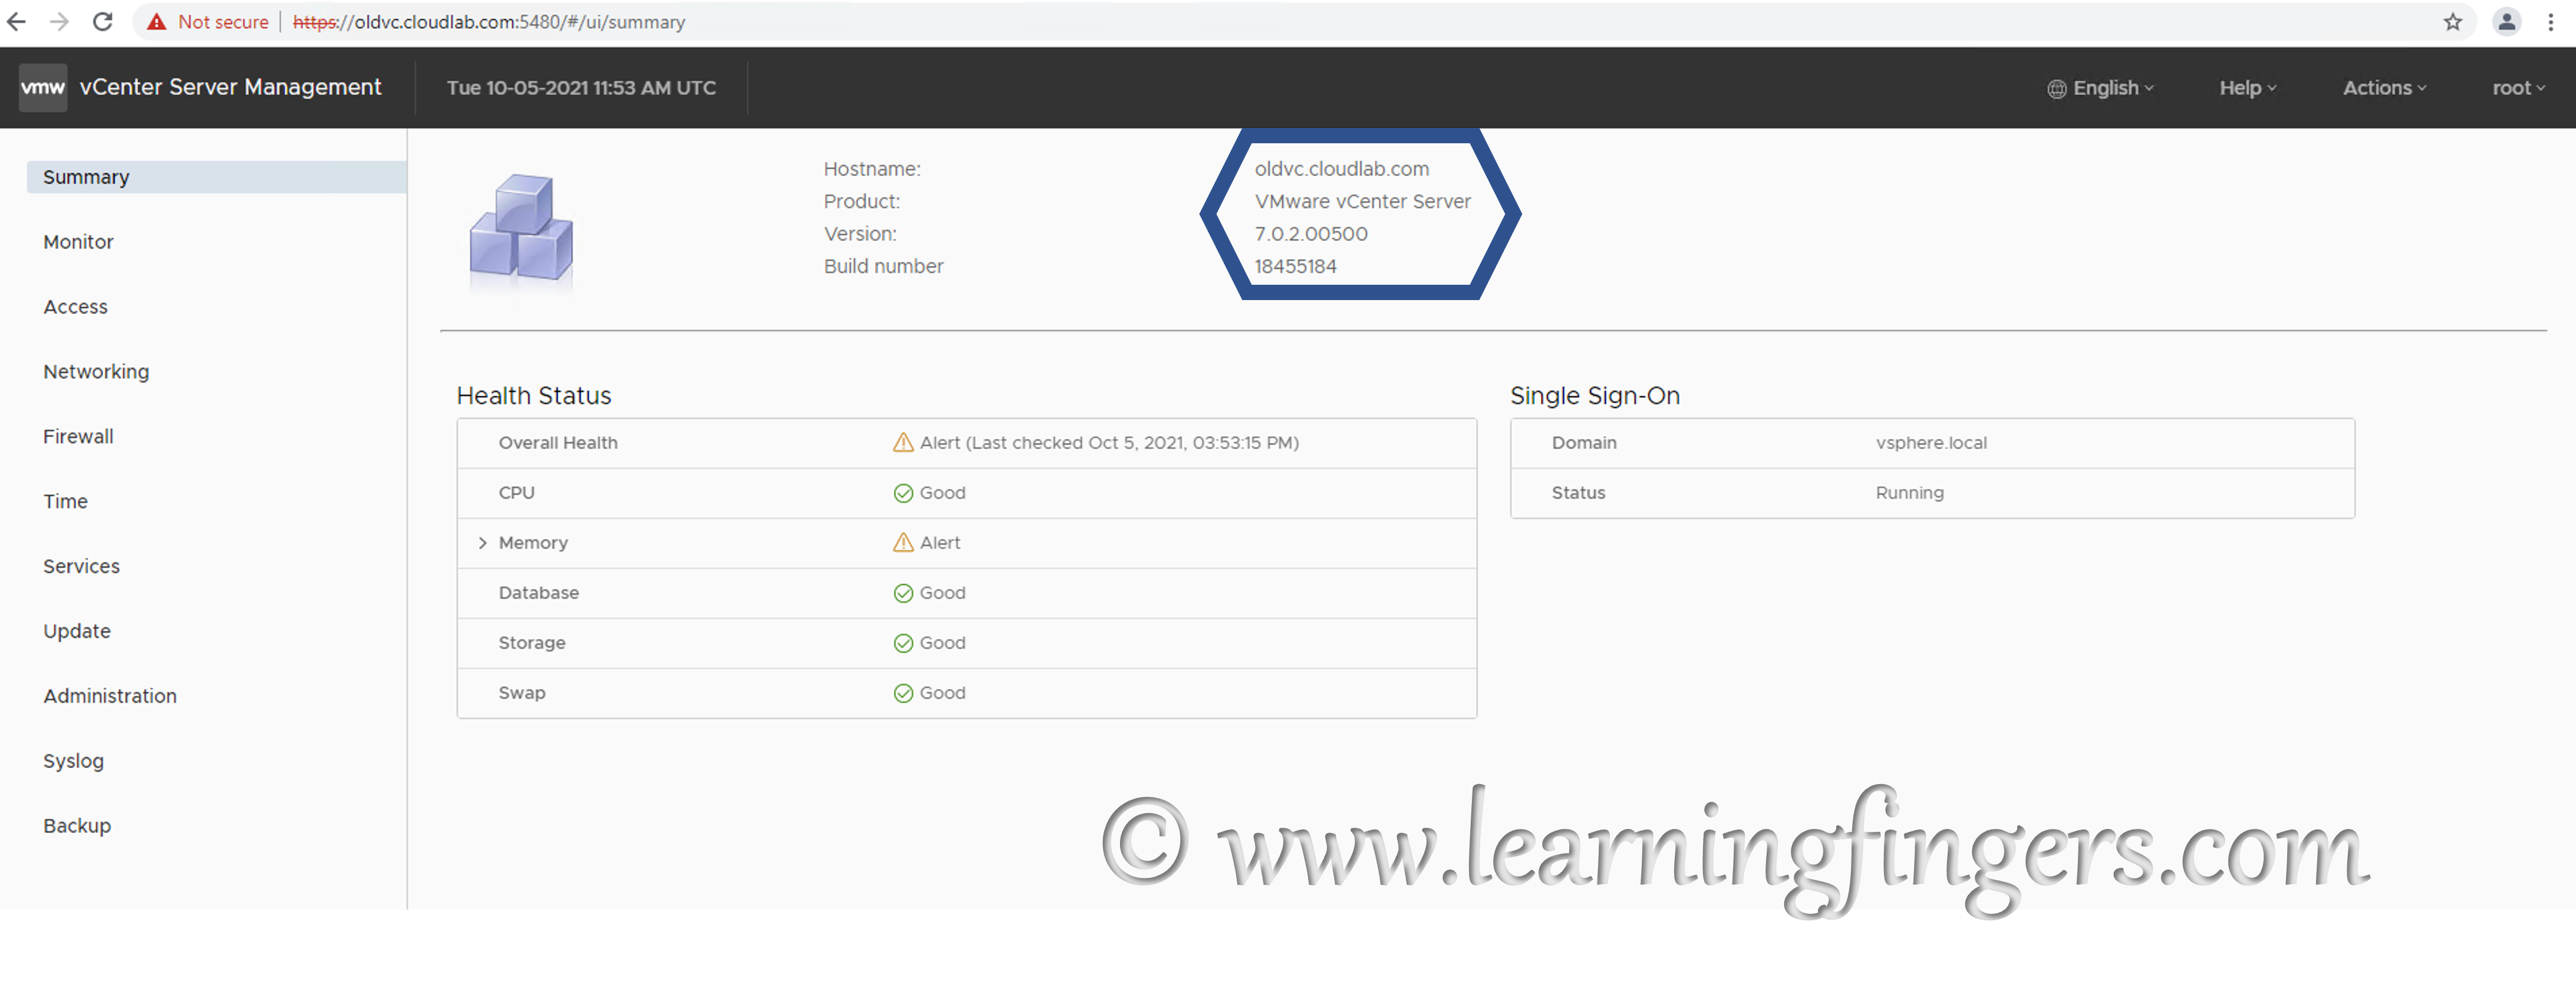
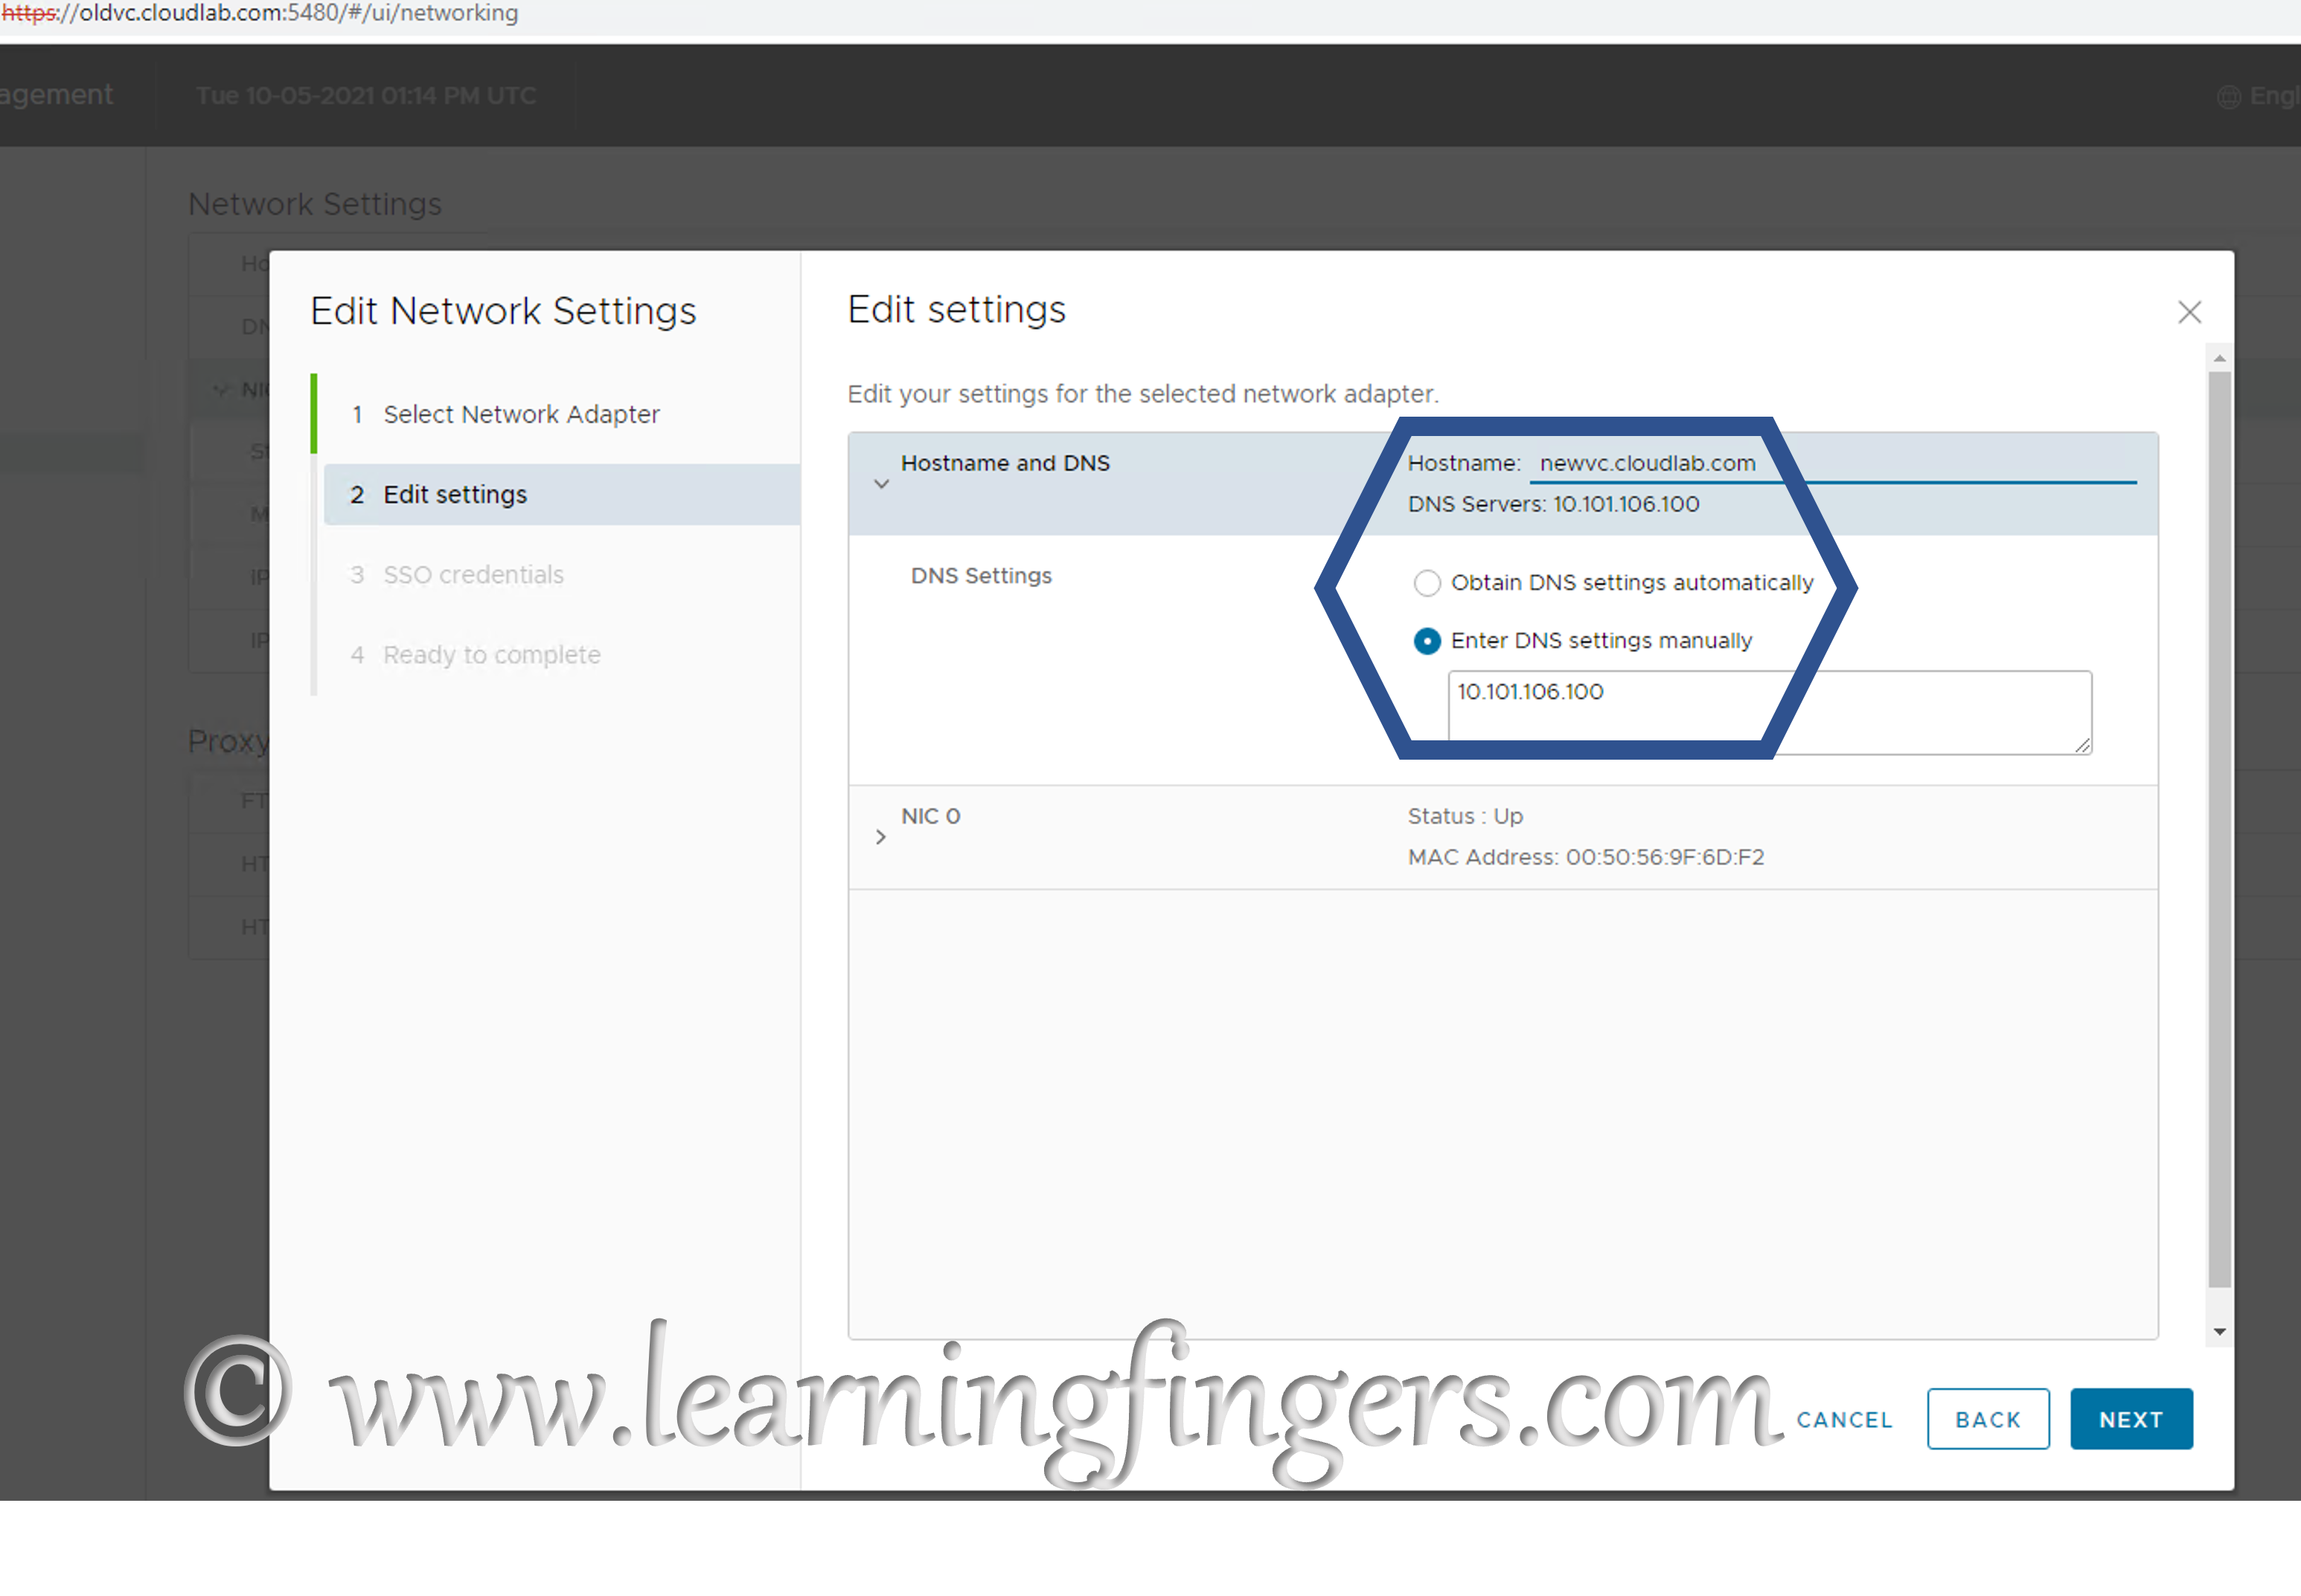
Step2: Navigate to “Networking -> Network Settings -> Click Edit 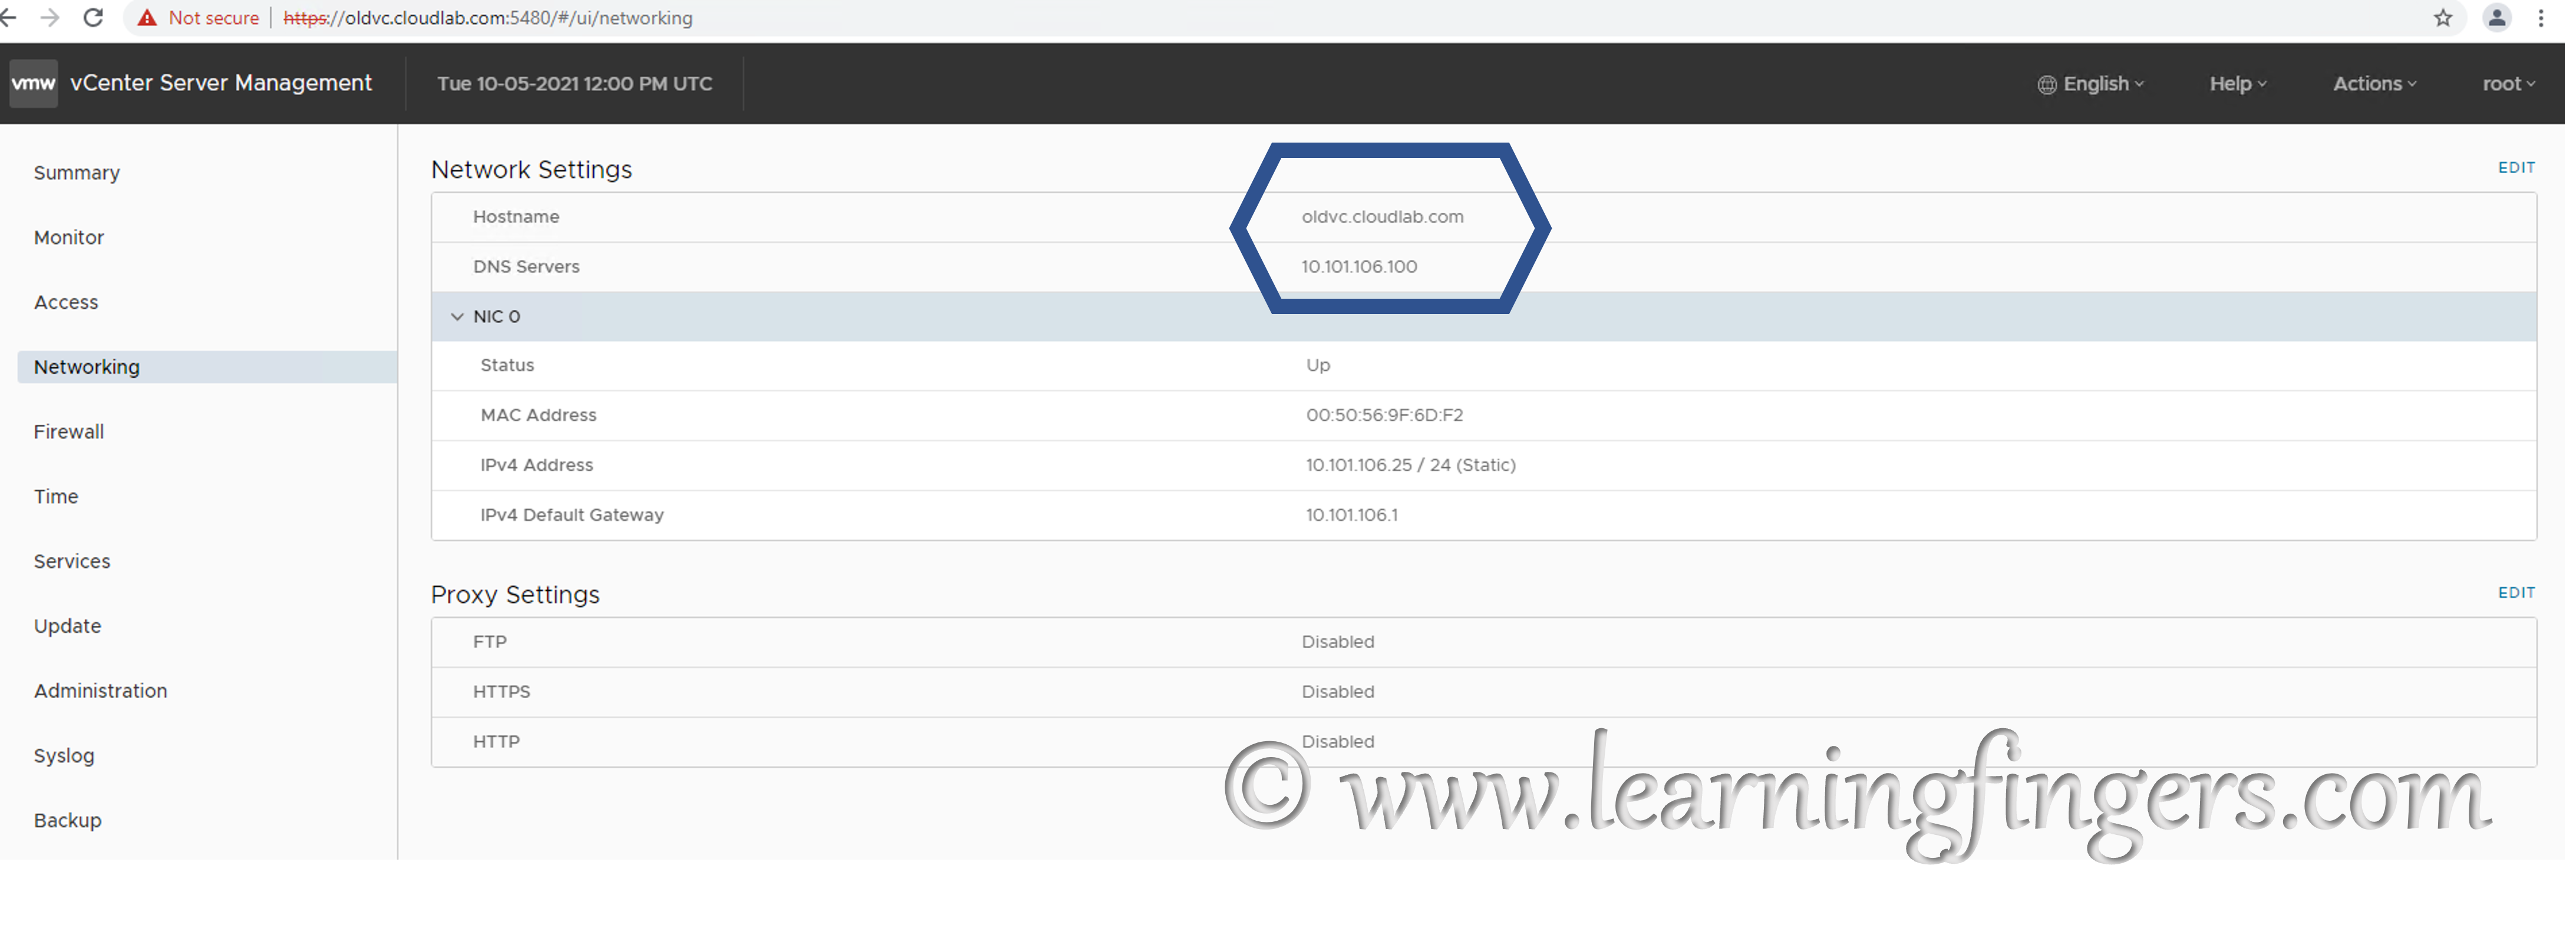
Step3: Click Next after selecting the NIC 0: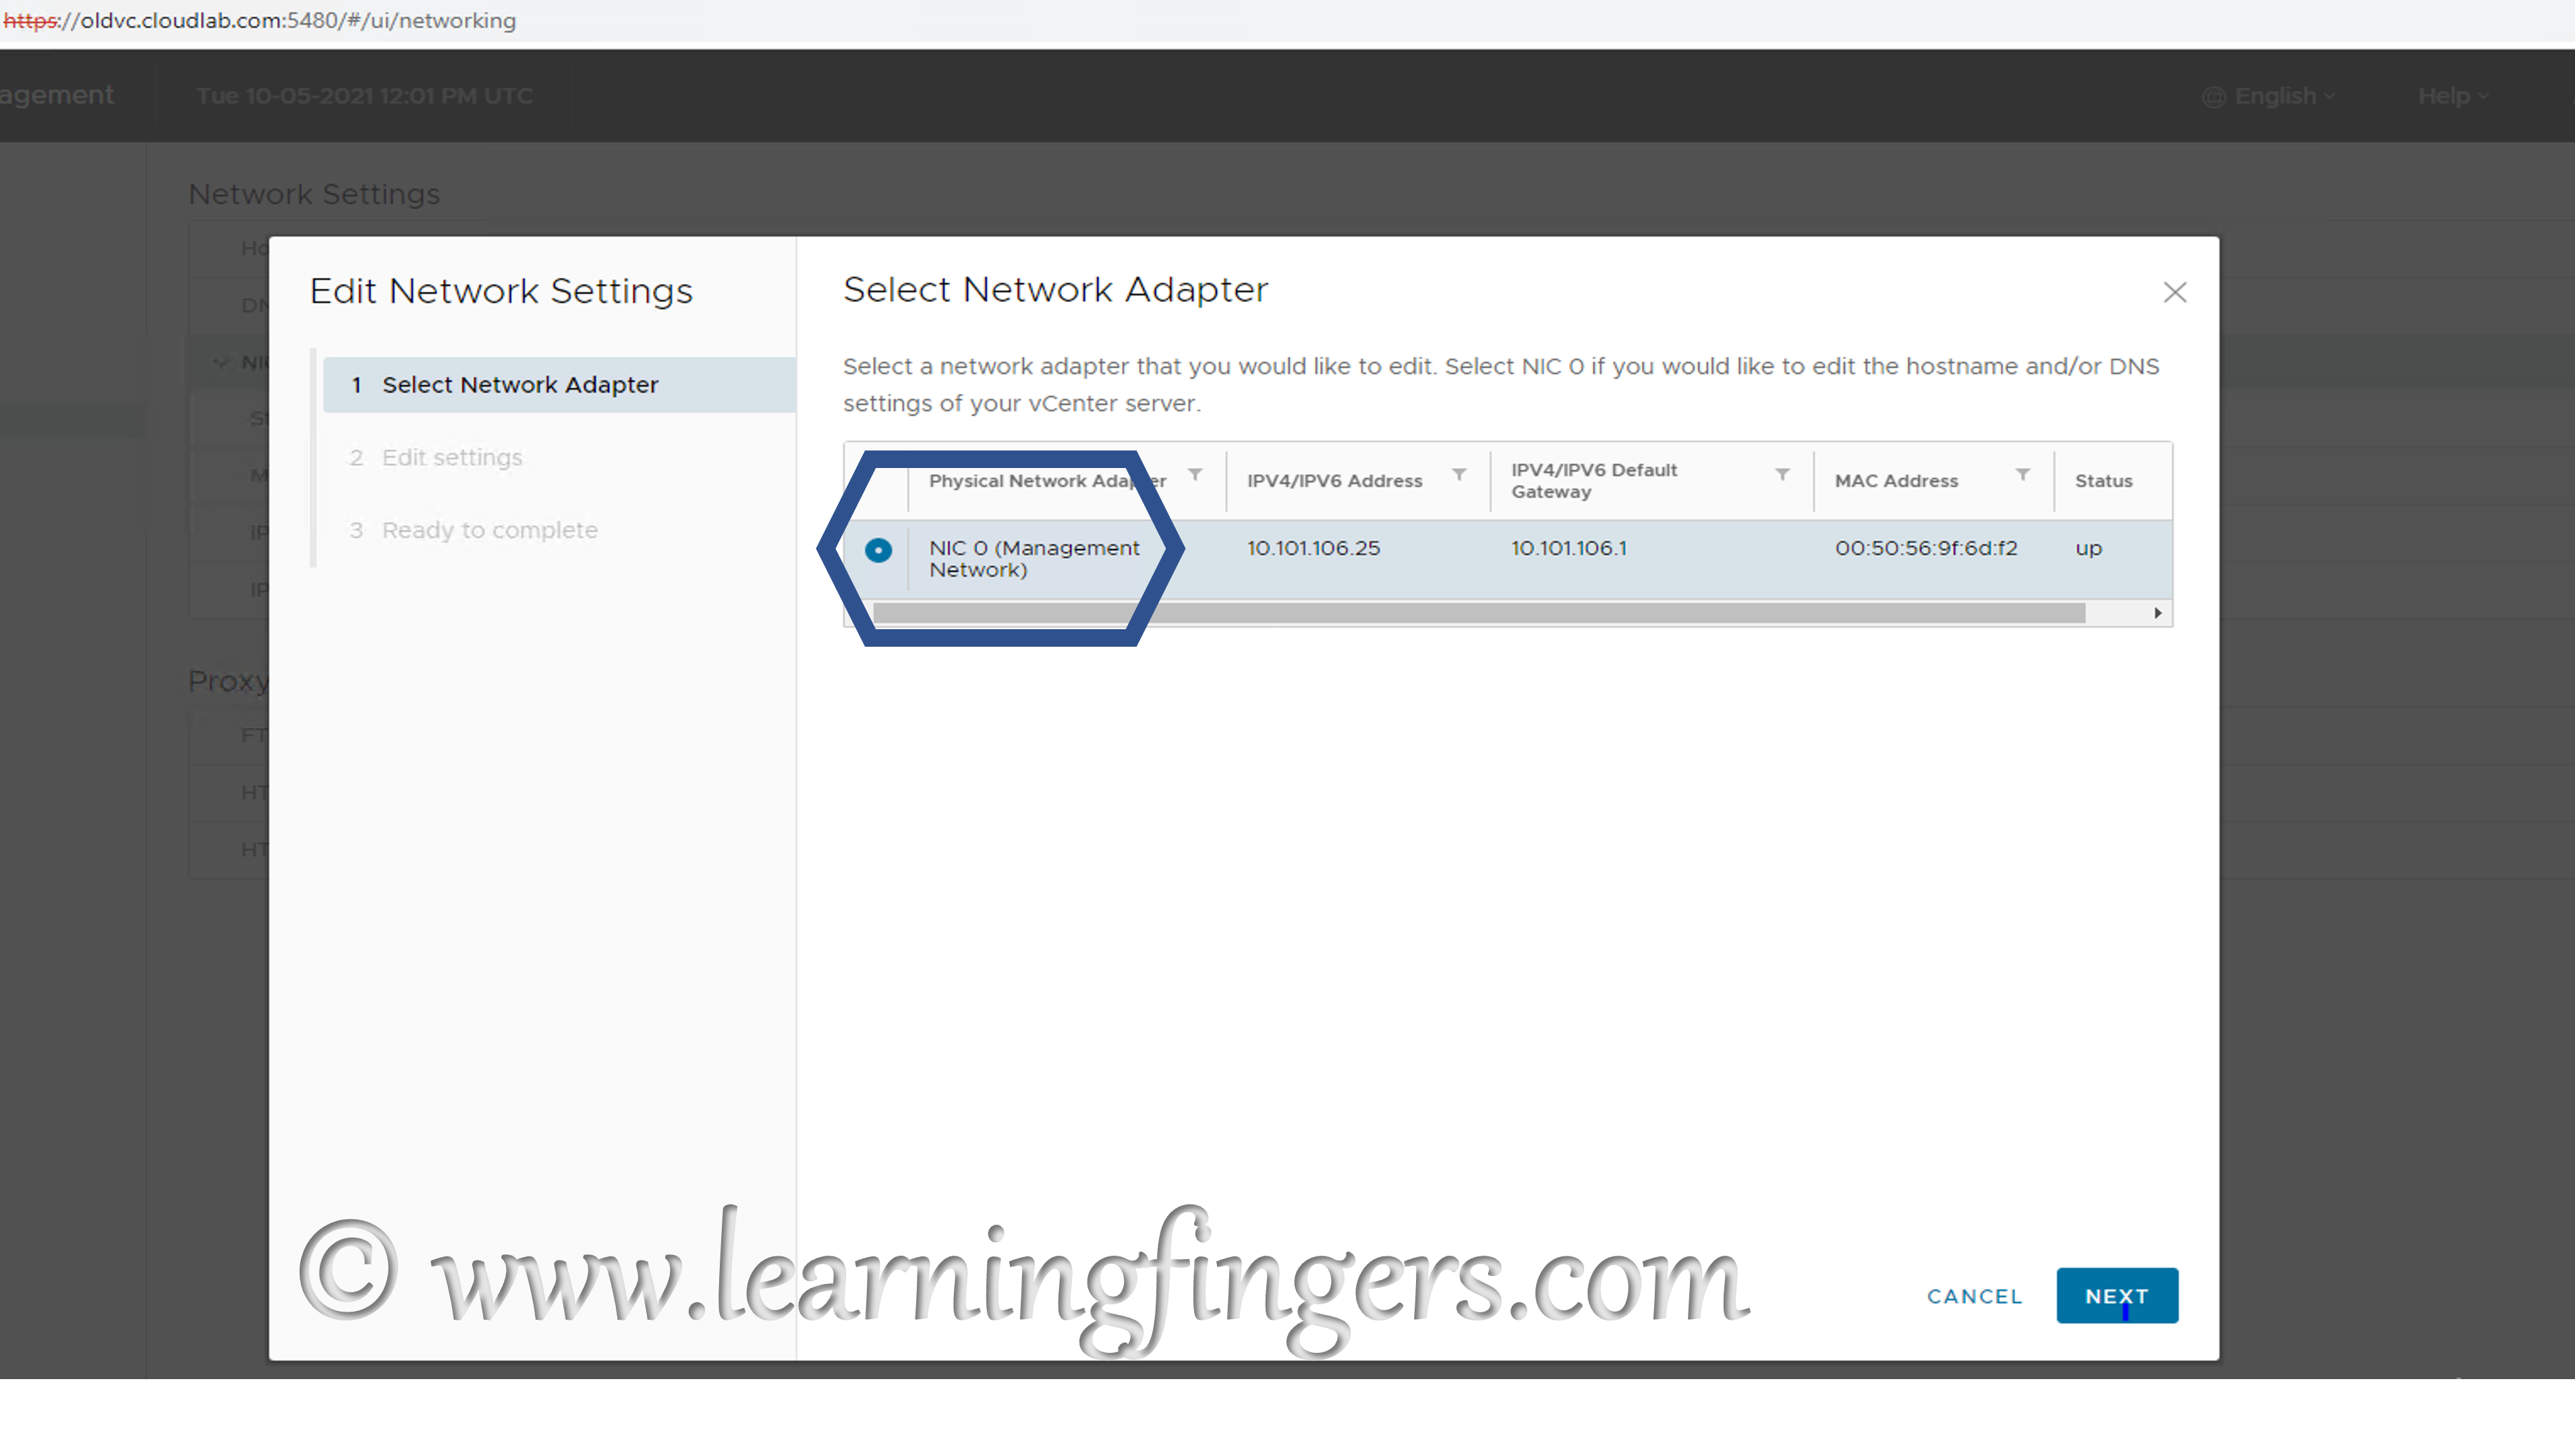
Step4: Replace the existing name to New Name 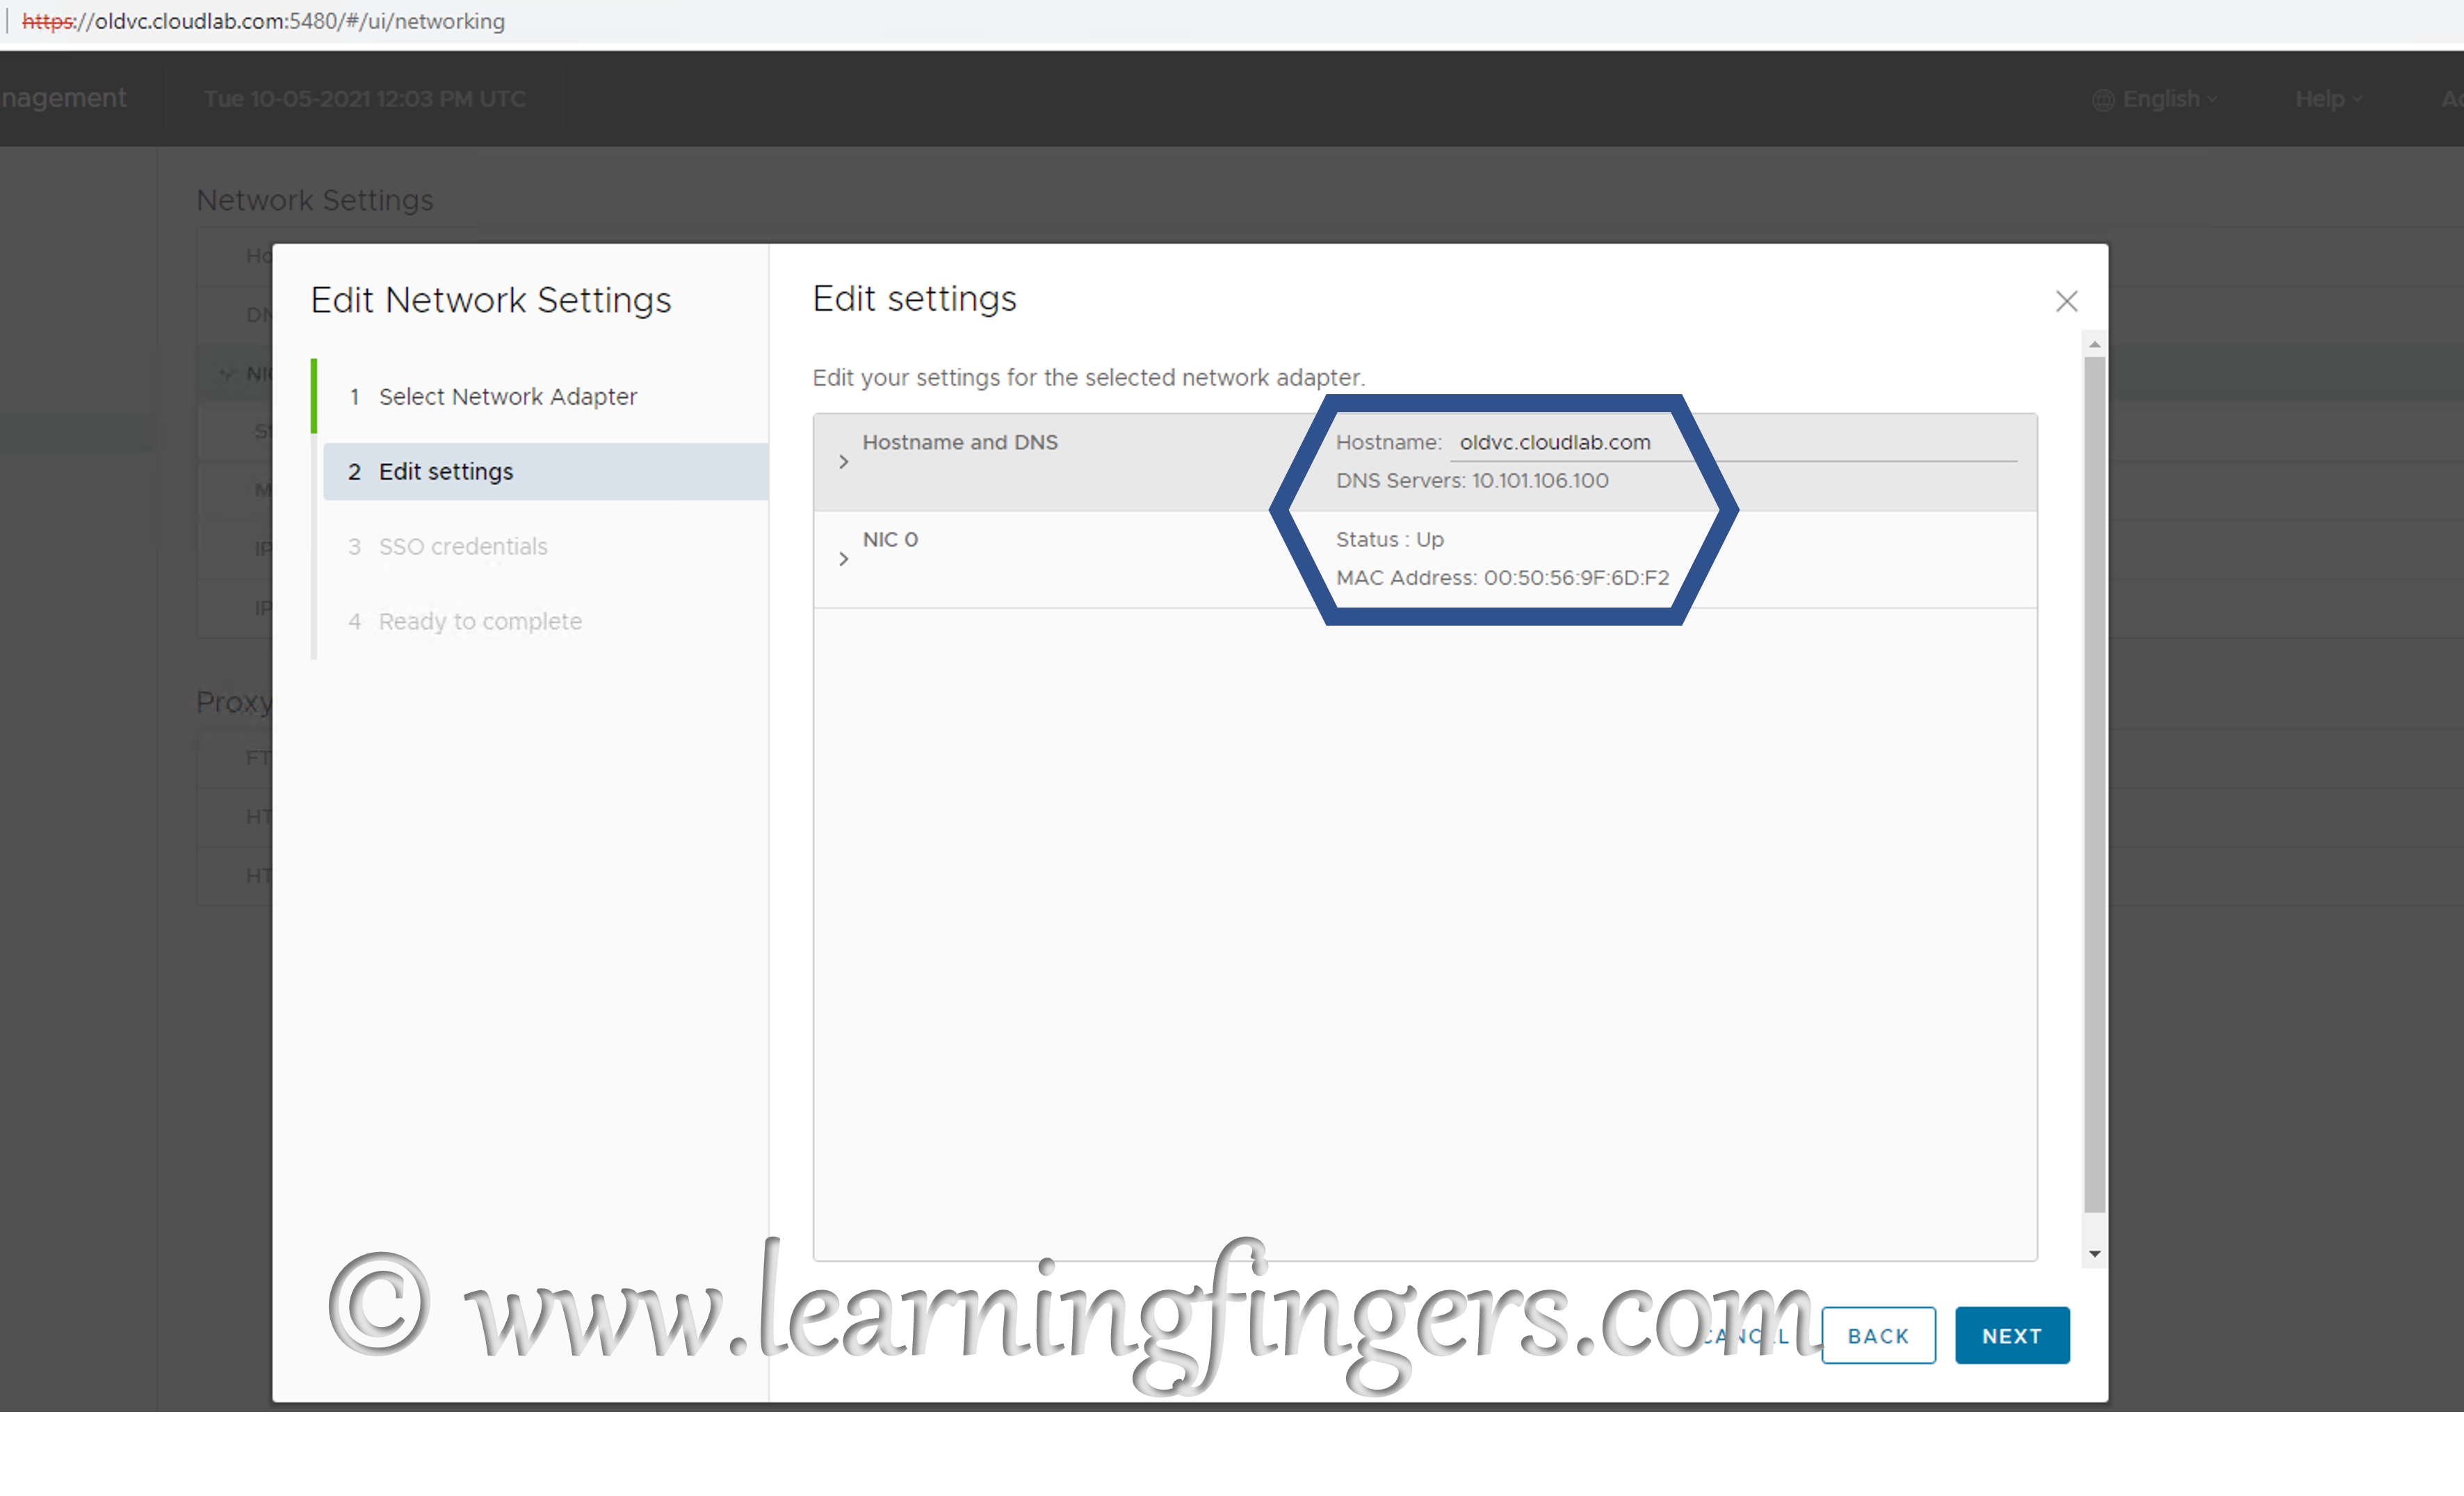
Step5: Provide administrator credential and click NEXT.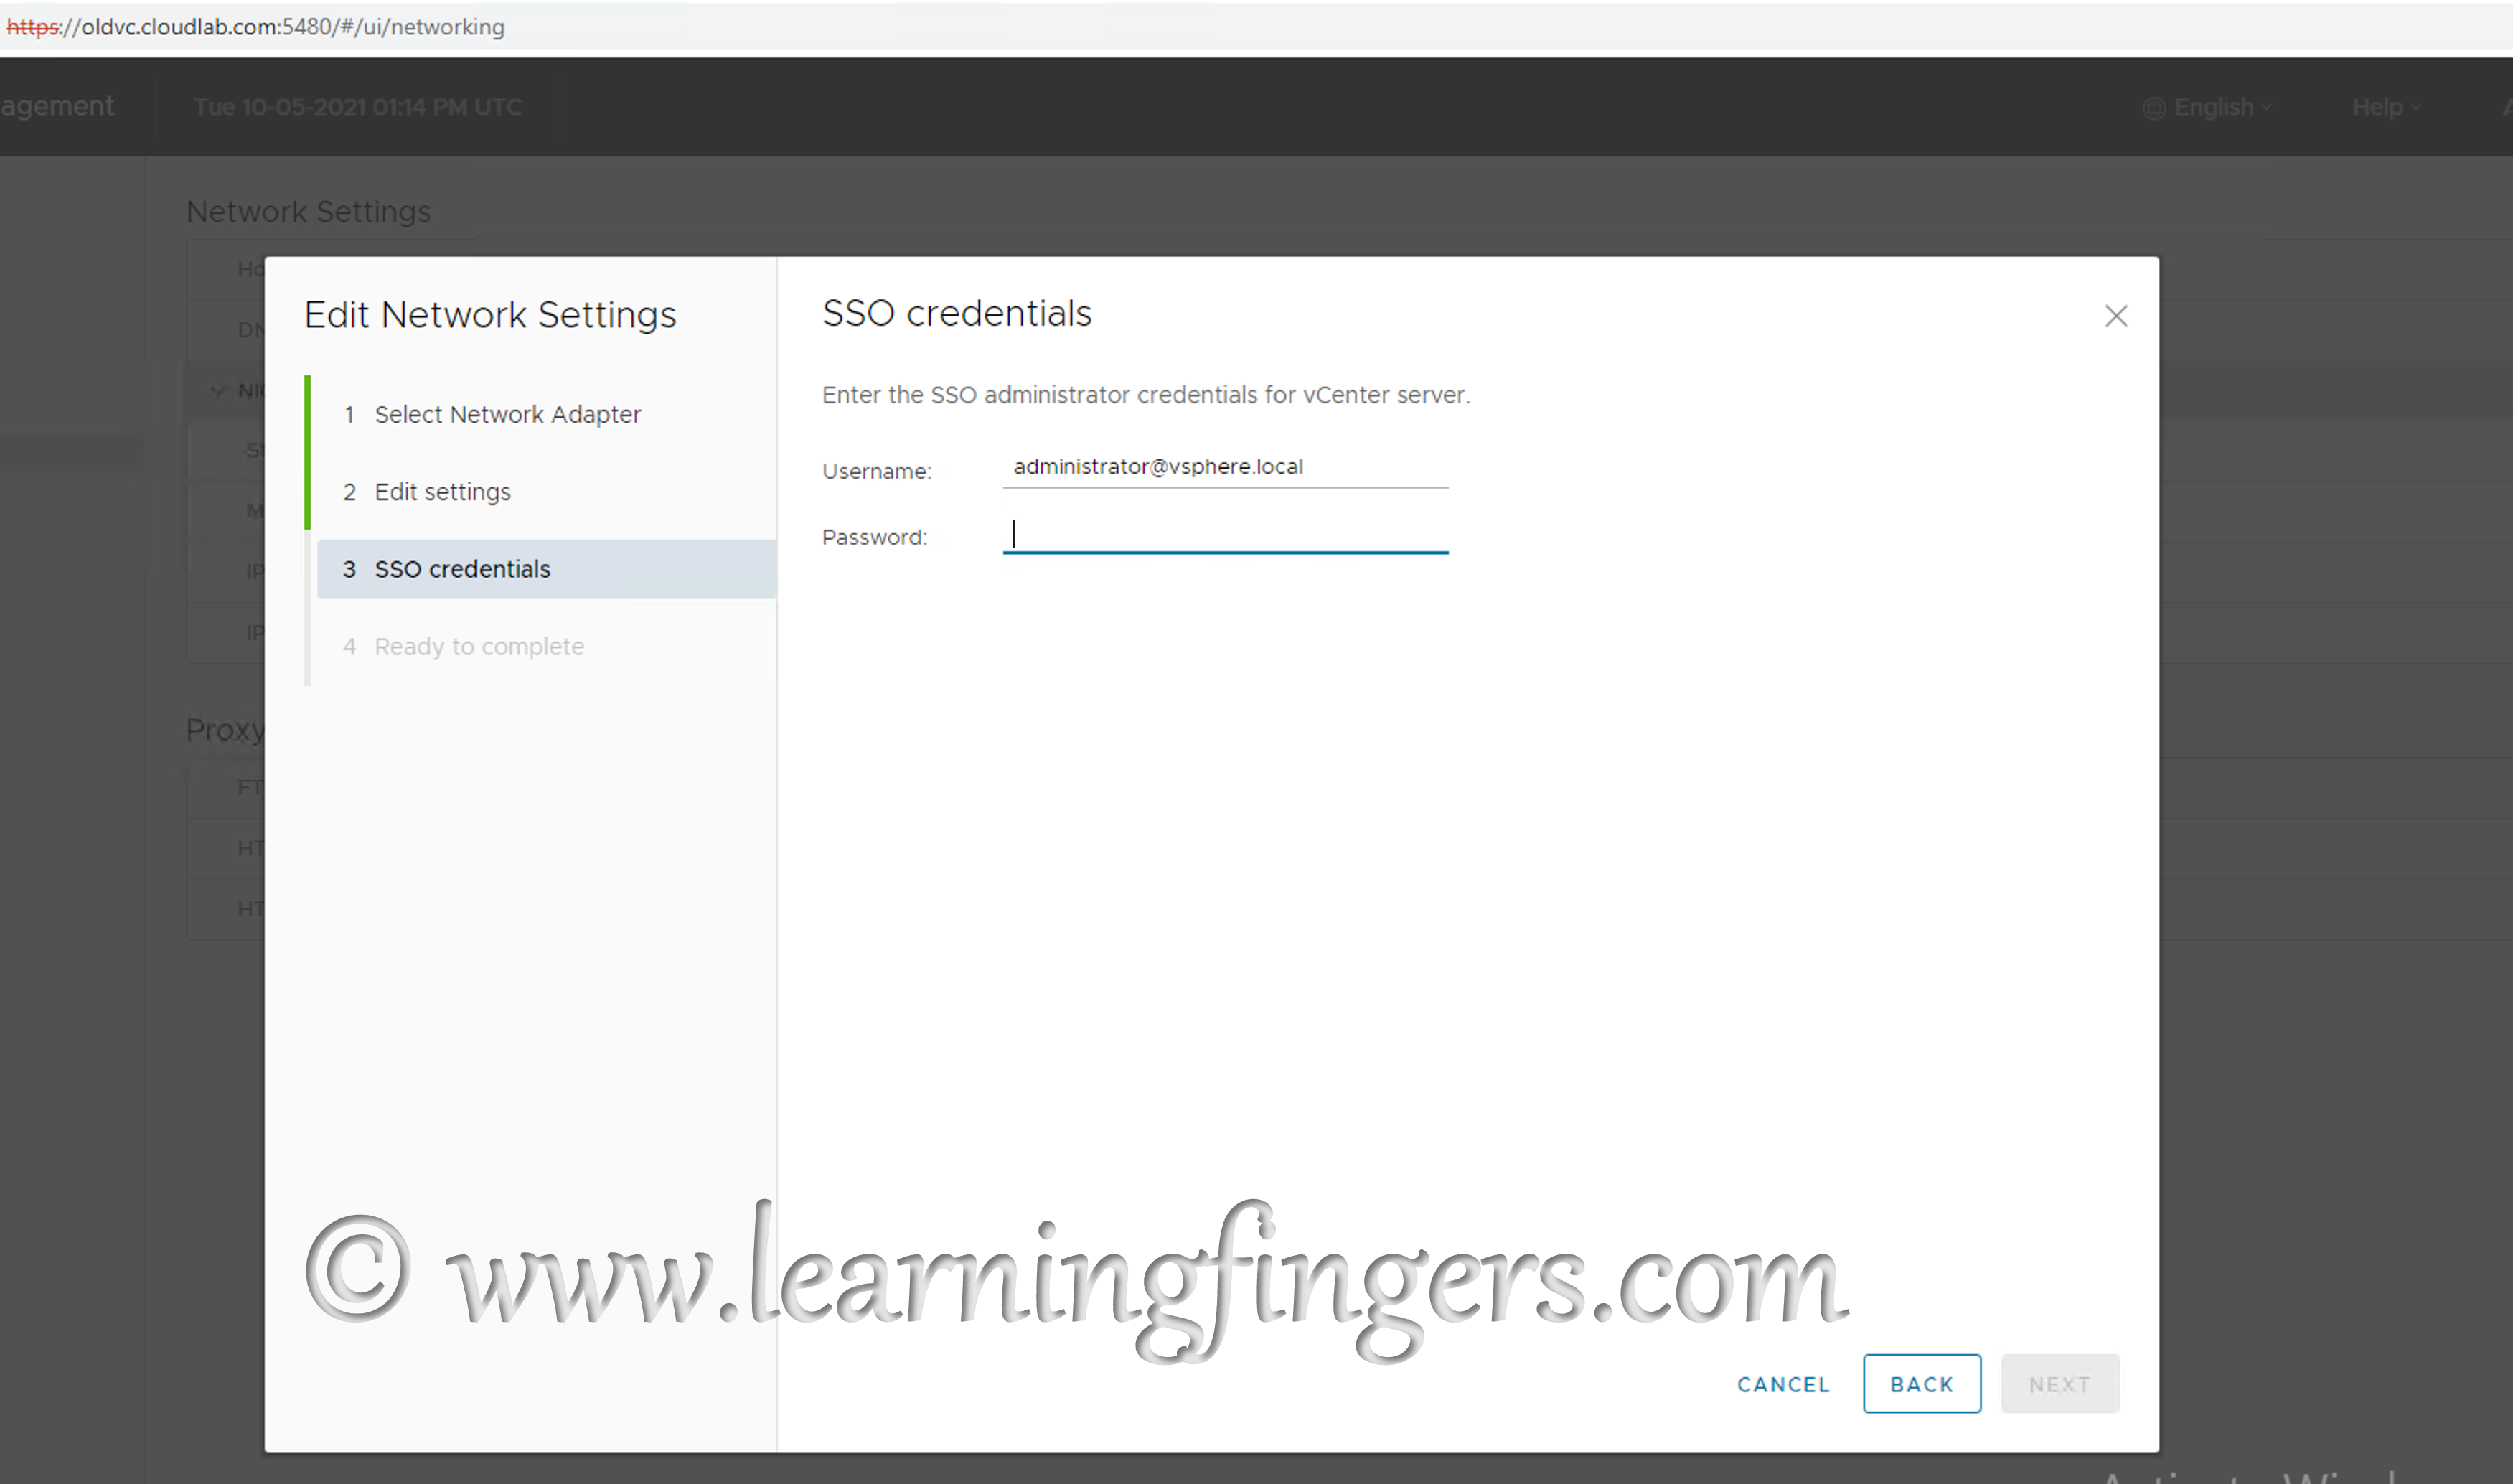
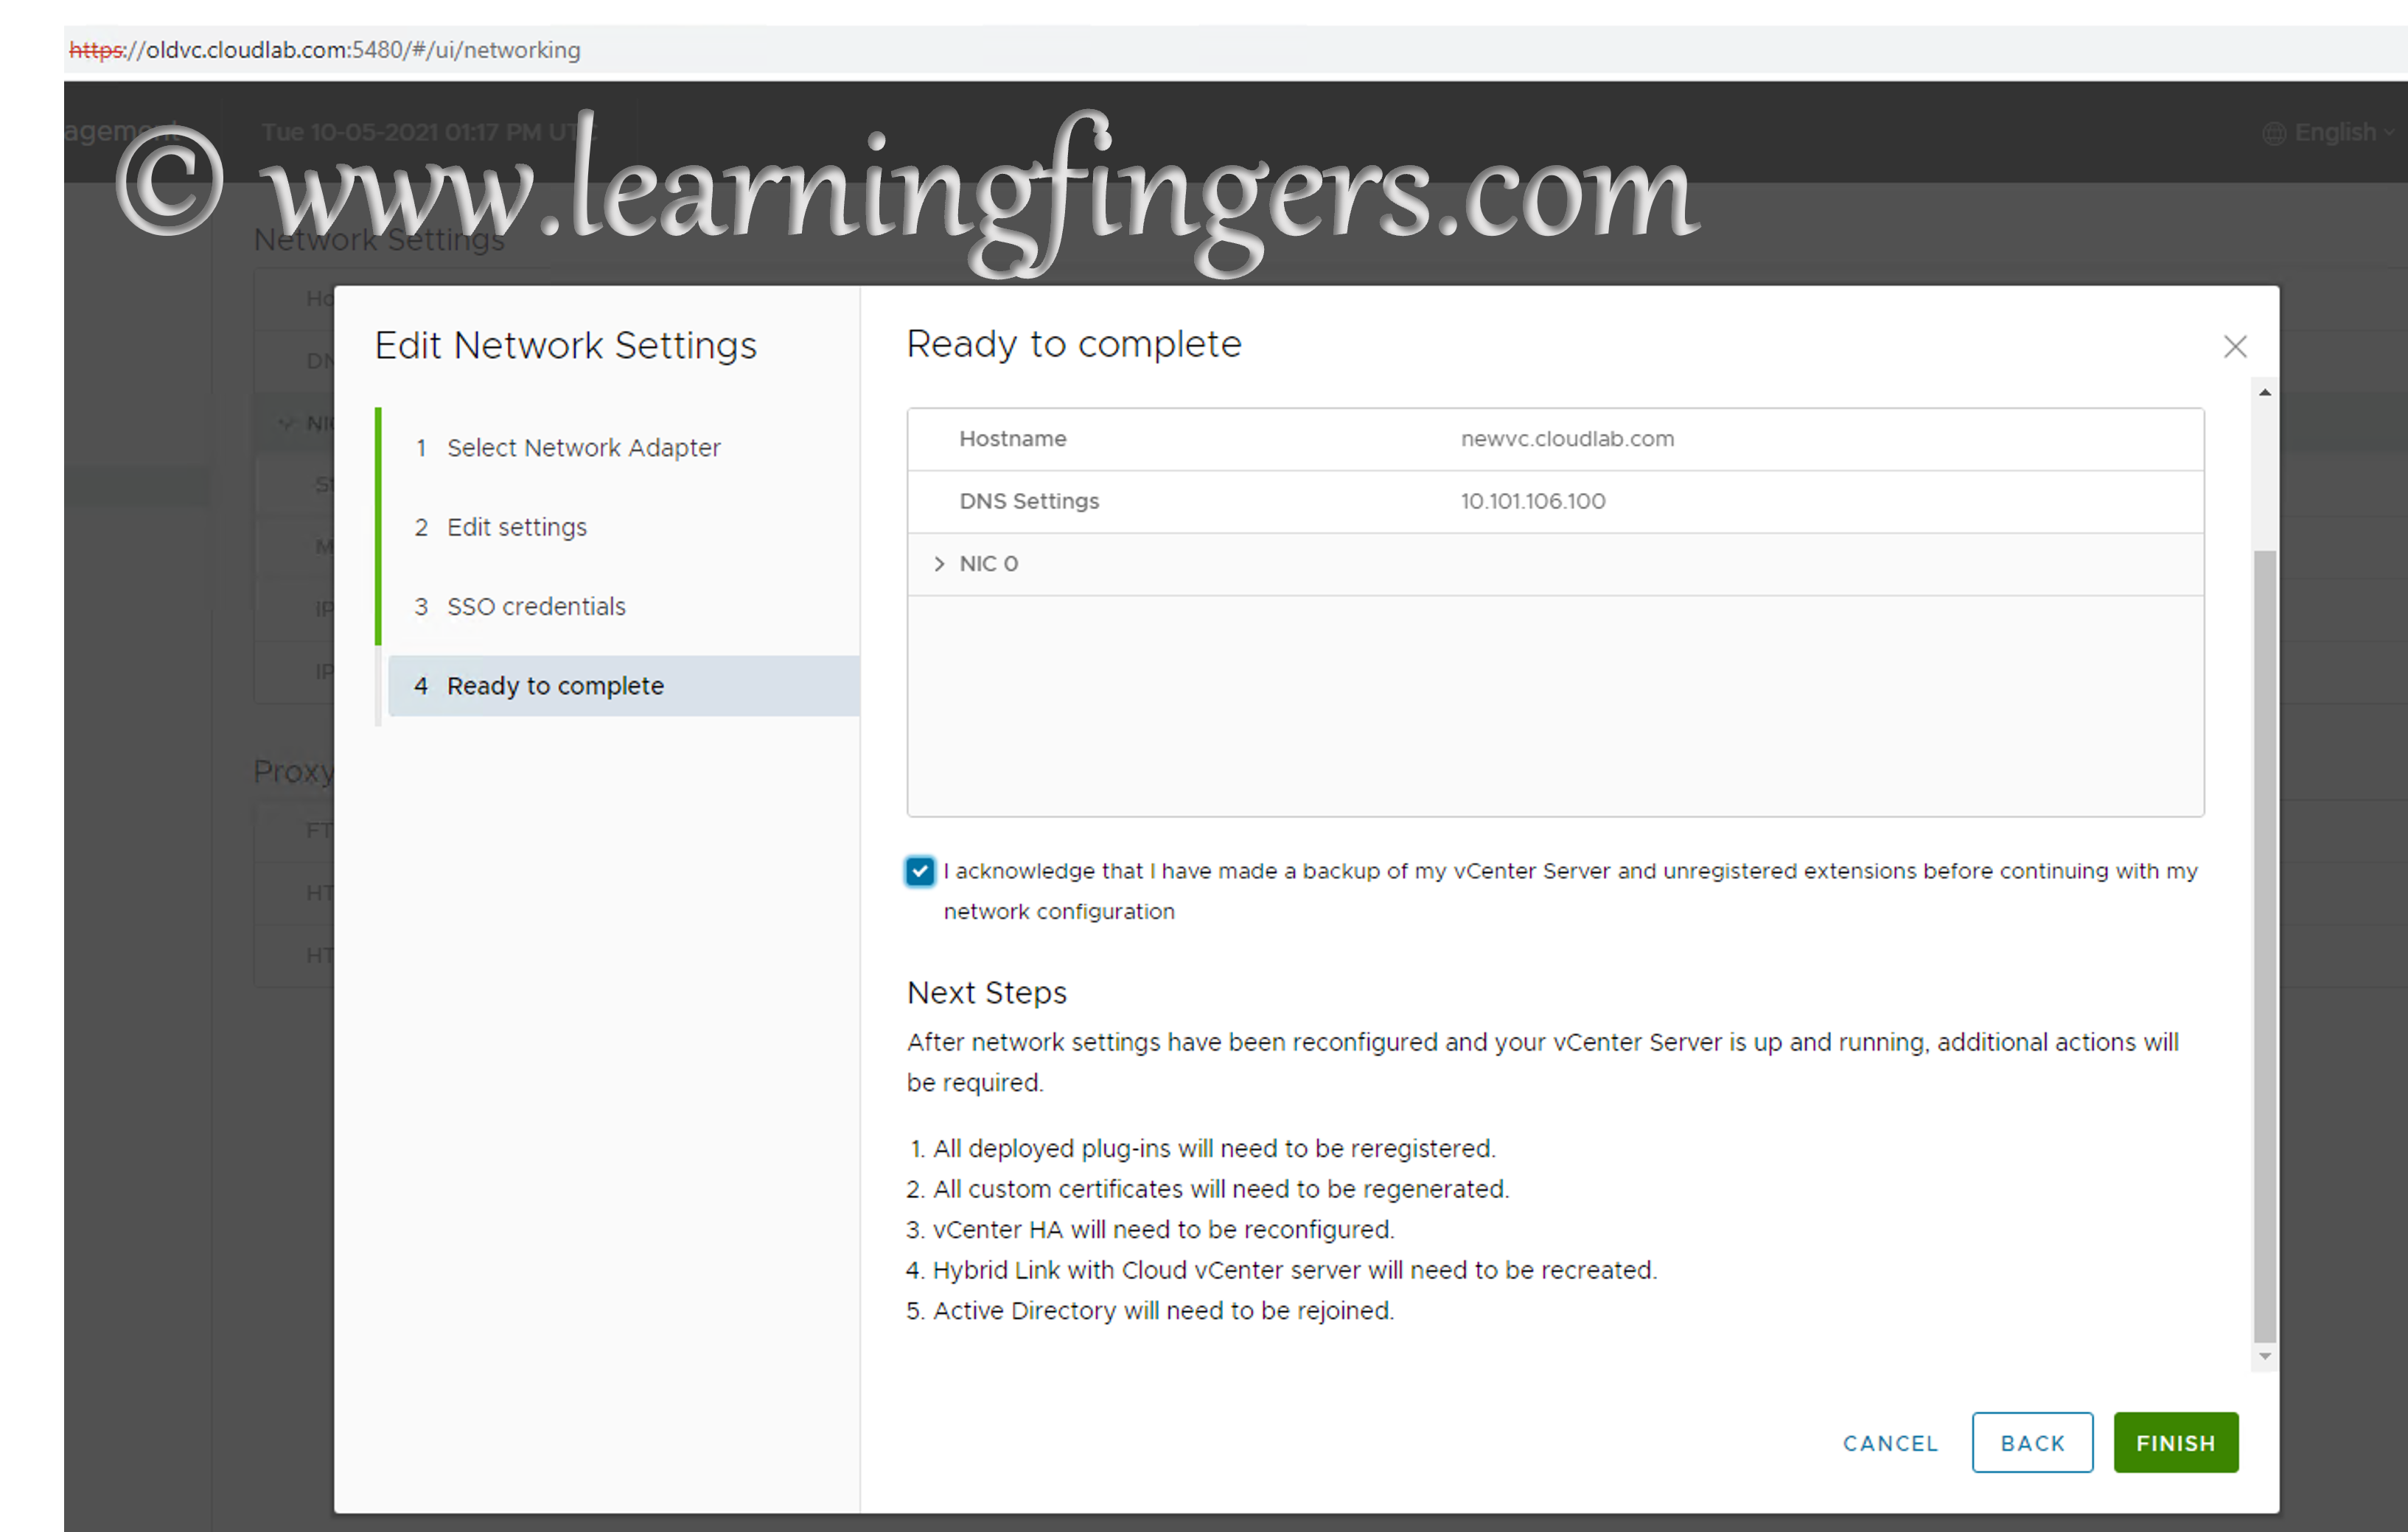
Step 6: Final summary page and note the next steps to perform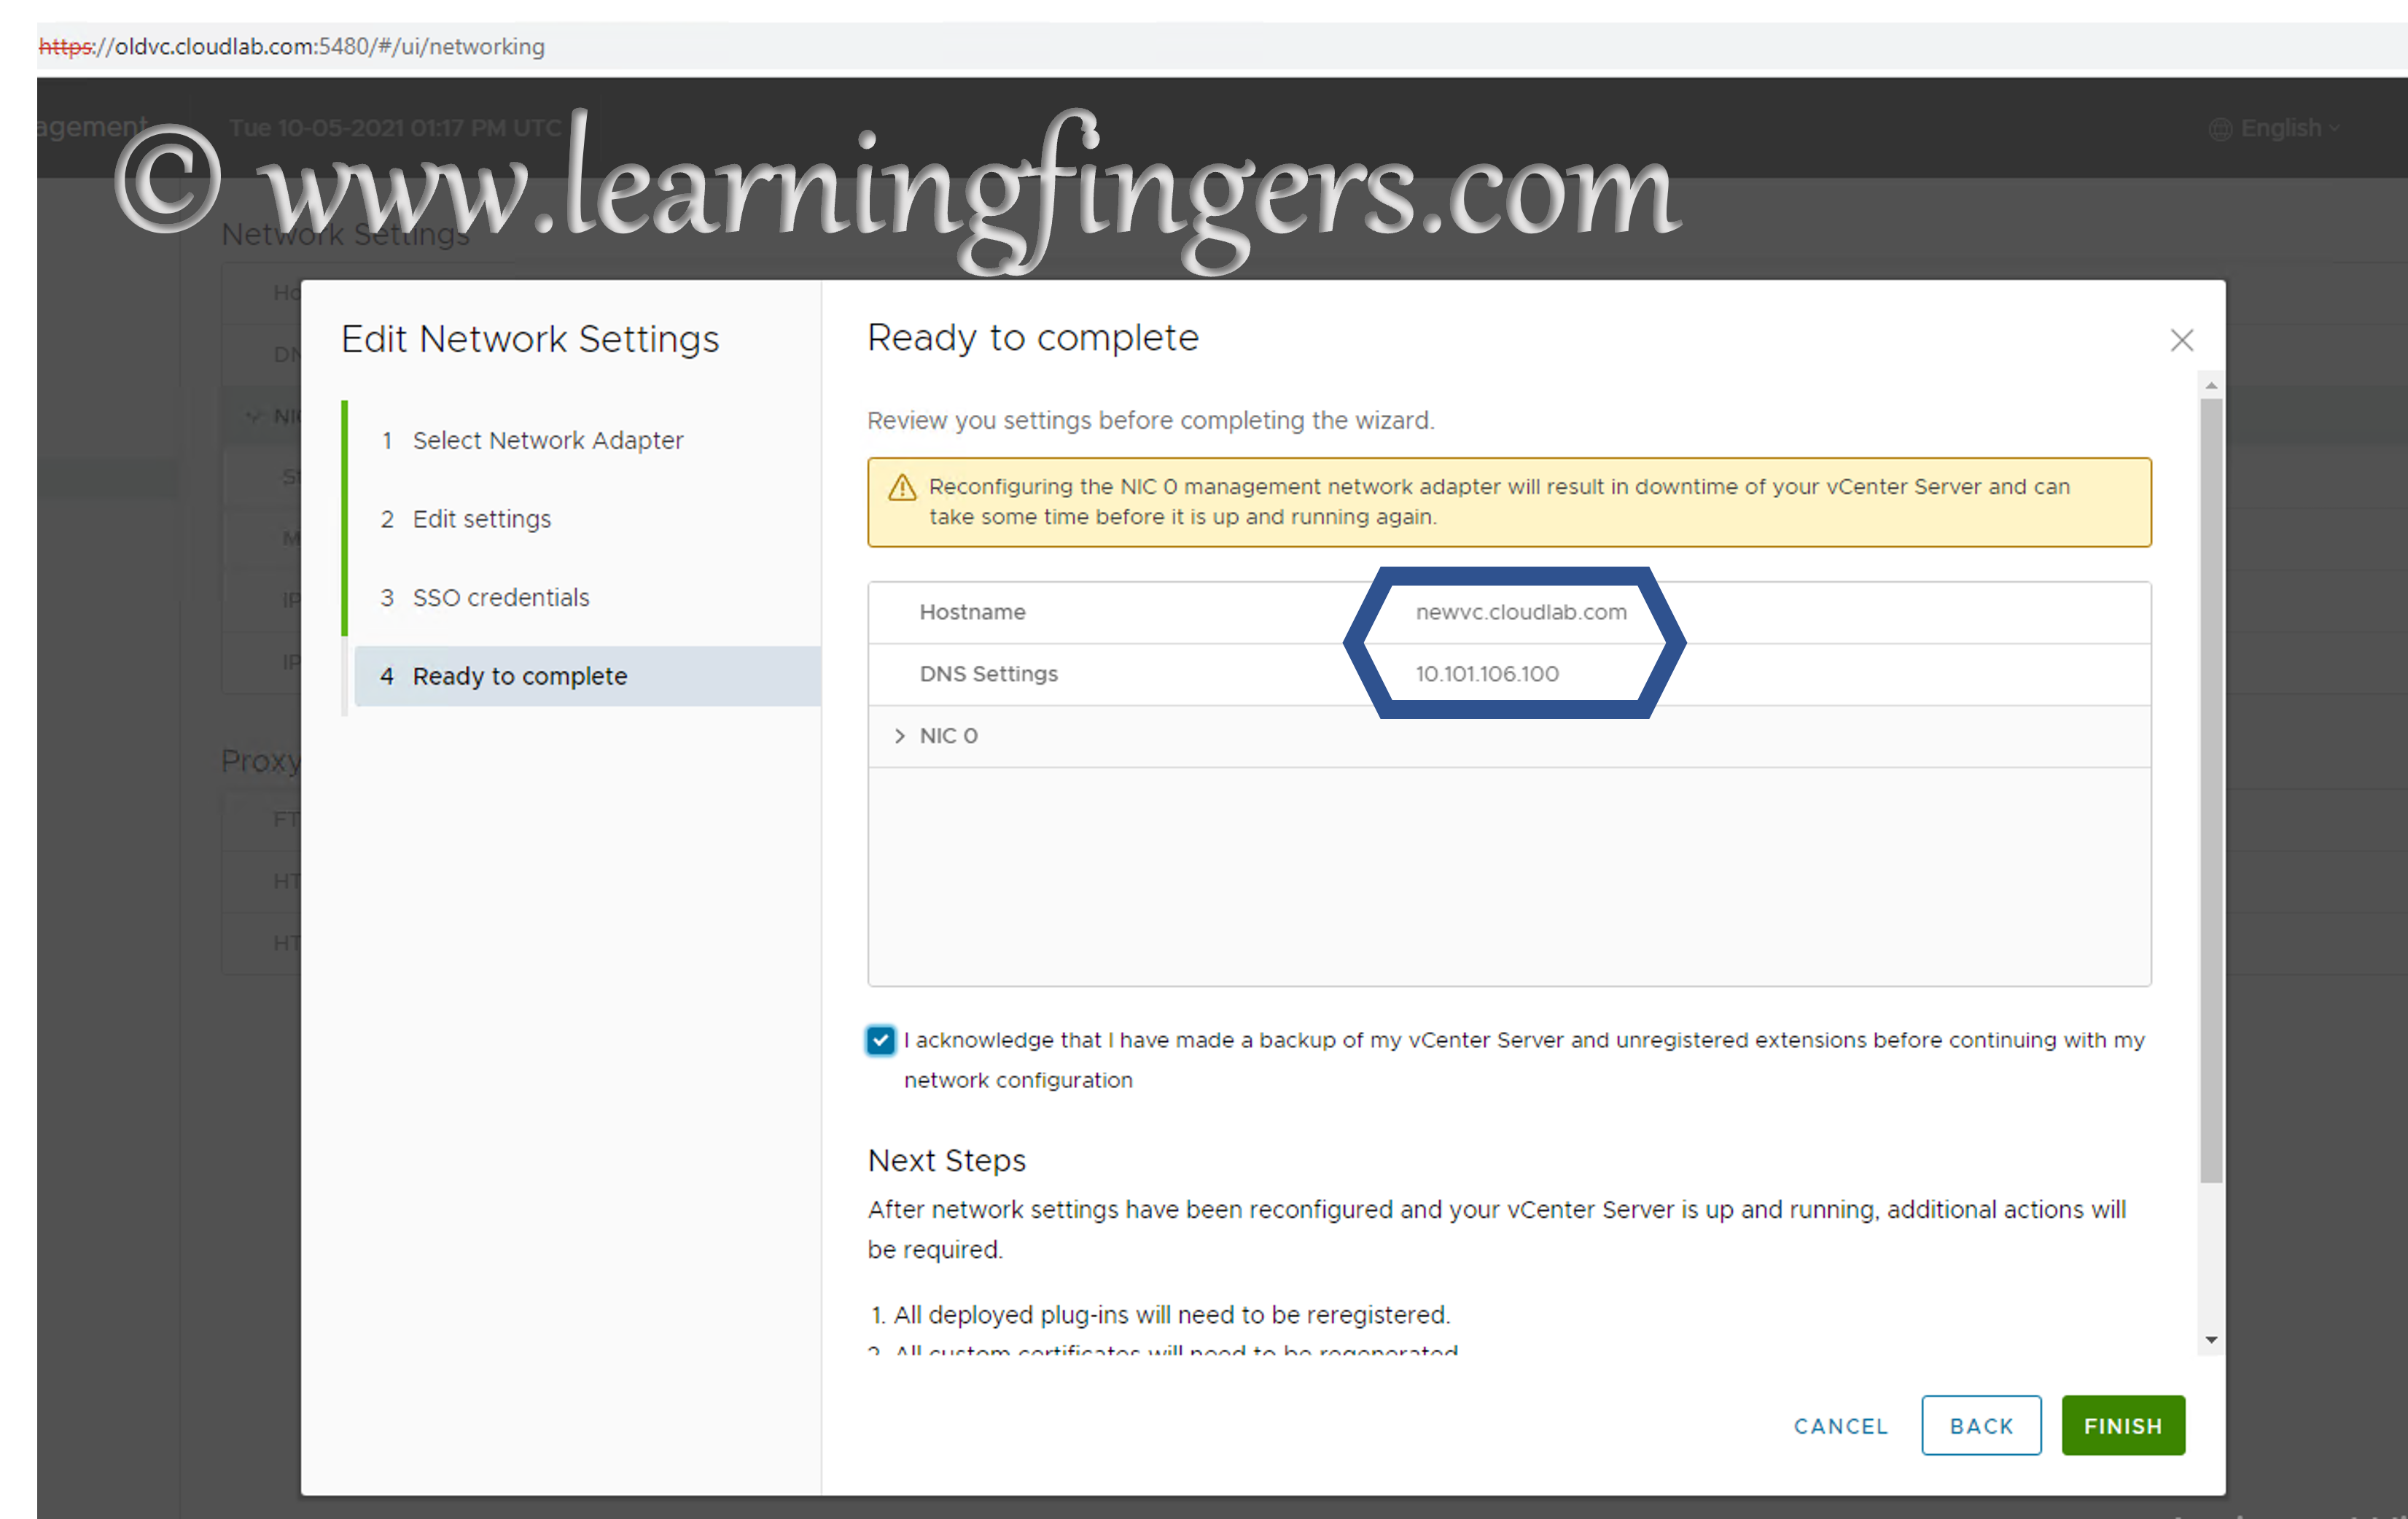
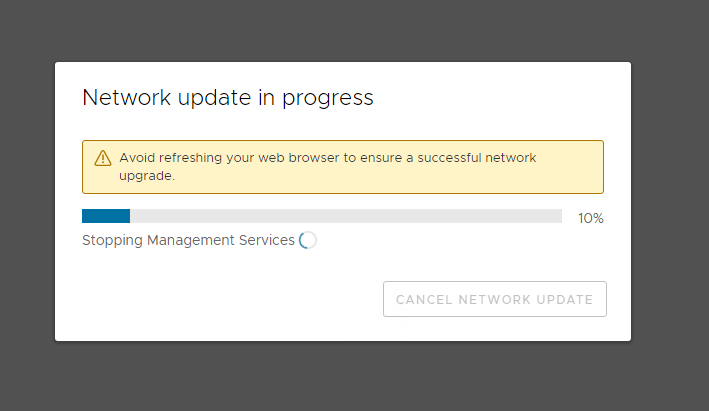
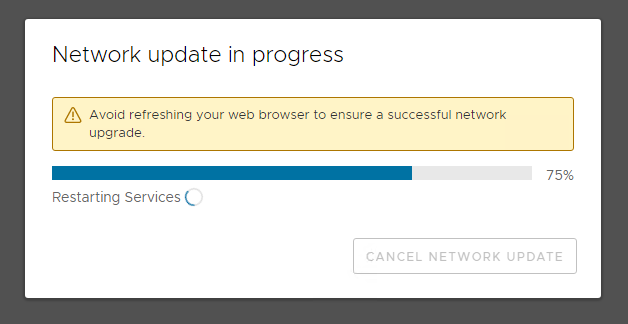
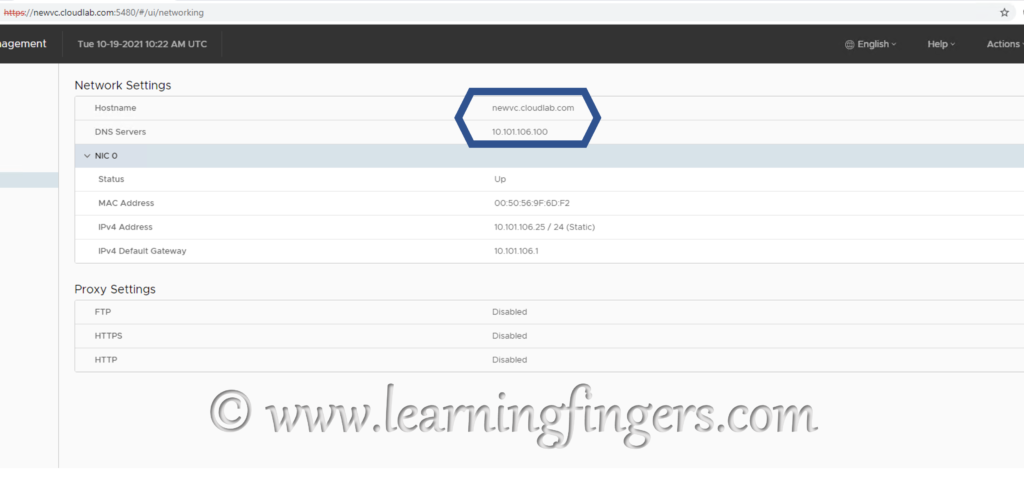
Confirmation: Once the task is completed, its redirected to the 443 page and i have logged in to :5480 to confirm the network information.

- How to Implement Hytrust KMS and enable vSAN encryption? - 16/10/2022
- How to delete Inaccessible objects in vSAN datastore? - 16/09/2022
- Availability options with vROPs 8. - 04/07/2022